How to Use WD Discovery Backup WD External Hard Drive
This article describes how to use WD Discovery to back up or manage your external hard drive. Finally, we introduce you to backing up your OS to external hard drive.
By Miya Updated on September 25, 2023
What Is WD Discovery?
WD Discovery is a software utility developed by Western Digital (WD) that provides a centralized platform for managing and accessing various WD products and services. It is designed to enhance the user experience and provide convenient control over WD devices and applications. Next, we will introduce you to its core features and how to use WD Discovery to backup and manage your WD hard drive.
Here are some key features and functionalities of WD Discovery:
- ☎Device Management: WD Discovery allows you to easily manage connected WD devices, such as external hard drives, network-attached storage (NAS) devices, and portable drives. It provides access to device-specific settings, firmware updates, and other device management options.
- ☎Content Backup and Sync: With WD Discovery, you can set up automatic backups and sync your files and data across multiple WD devices. It simplifies the process of safeguarding your important files by providing backup and synchronization capabilities.
- ☎Cloud Storage Integration: The software integrates with popular cloud storage services like Dropbox, OneDrive, and Google Drive. This allows you to conveniently access and manage your cloud storage accounts through the WD Discovery interface.
- ☎Application Downloads: WD Discovery provides a platform to discover and download additional WD applications and utilities. It offers easy access to software tools that complement WD devices and enhance their functionality.
- ☎Security and Privacy: WD Discovery includes built-in security features to protect your data and privacy. It offers options for password protection, data encryption, and secure cloud storage connections.
Overall, WD Discovery serves as a hub for managing and optimizing your WD devices, providing a seamless and unified experience for accessing and controlling your WD products and services. Now, let us go to how to backup using WD discovery.
Why Need to Backup Your Files to a WD External Hard?
Backing up files to a WD external hard drive offers important benefits and is a best practice for data management. Here's why it's necessary:
-
Data Protection: Backups safeguard valuable data from hardware failures, viruses, accidental deletion, and disasters. Regular backups to a WD external hard drive ensure data safety and easy recovery.
-
Redundancy: Multiple copies of files add redundancy, minimizing data loss risk. With a backup on a WD external hard drive, even if the primary storage fails, recovery chances increase.
-
Portability: WD external hard drives are portable, allowing easy data access on different computers or locations. Backing up to a WD drive ensures data availability on the go.
-
Increased Storage Capacity: External drives offer larger storage compared to internal ones. This accommodates significant data, including multimedia, system backups, and extensive projects, without space concerns.
-
Convenience and Ease of Use: WD external drives are user-friendly and offer convenient backup solutions. Integrated software simplifies scheduling automatic or manual backups with a few clicks, promoting regular backups hassle-free.
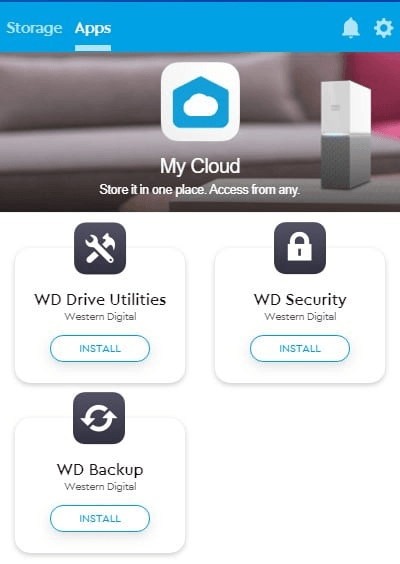
How to Install and Use WD Discovery Backup Your WD Hard Drive
In many drives, the WD Discovery tool is already included. Simply open the setup file and follow the installation instructions. If the tool is not pre-installed, no worries. You can easily download and install it from the official Western Digital website. Let's walk through the steps to install WD Discovery forWindows system and use WD Discovery to backup.
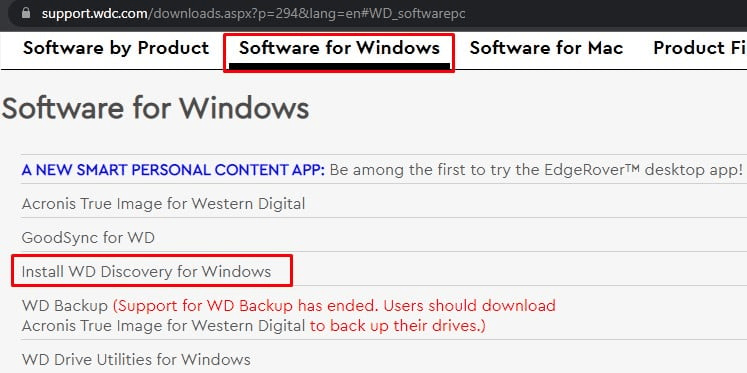
Step 1. Go to the Western Digital website and navigate to the SOFTWARE & DOWNLOADS page. Select the Software for Windows tab and locate the Install WD Discovery option. Click on it to begin the installation process of WD Discovery backup software.
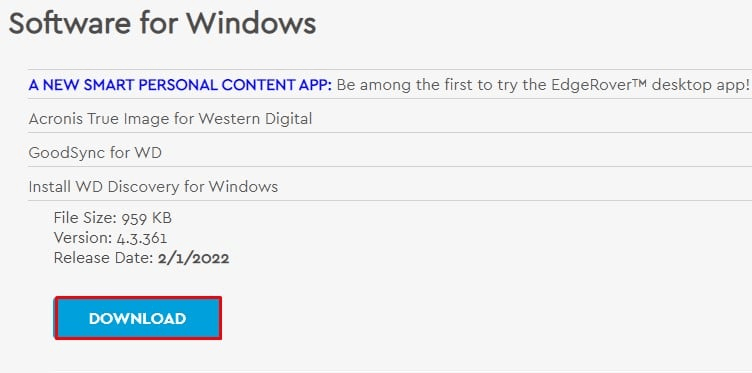
Step 3. Click the Download button to initiate the download of the zip file.
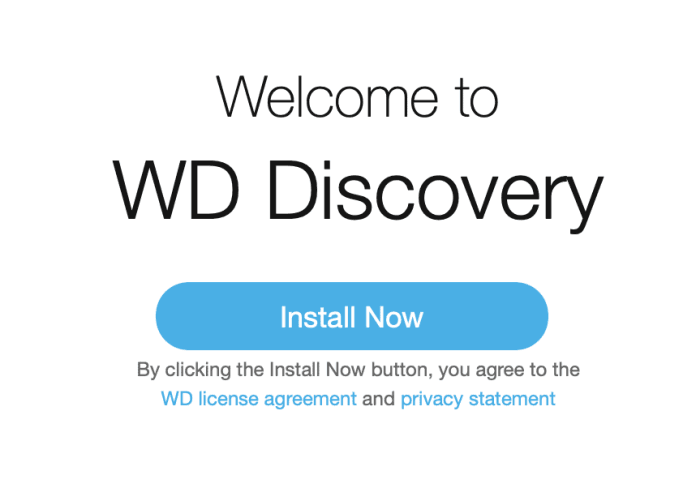
Step 4. Extract the .exe installer file from the downloaded zip file. Make sure to connect your WD device to your computer before running the installer file. Launch the installer file, accept the license agreement, and proceed with the installation.
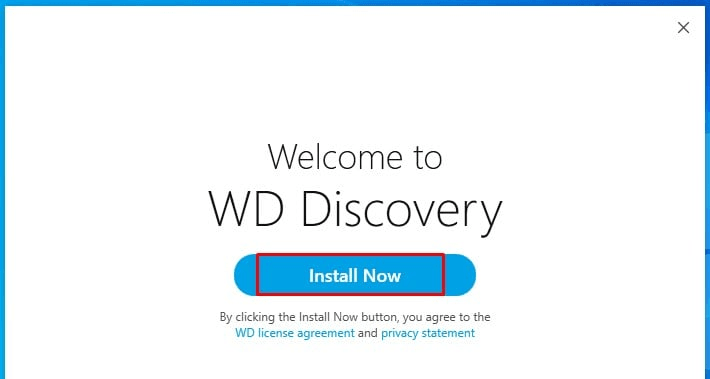
Step 5. The download process will begin, fetching the necessary files and installing the application. Once the installation is complete, simply click on the Finish button. Open the WD Discovery tool, and you will find your drive listed there.
Step 6. From there, you can perform the desired operations on your drive as needed such as using WD Discovery to backup.
Bonus Tip: Auto Backup Your Windows System to WD External Hard Drive
You can use WD Discovery backup Windows, since Western Digital has introduced their own data backup software called WD Smartware, but it has certain limitations. While it can automatically back up files, it doesn't support programs or Windows operating system. It's important to be prepared for situations where files are pending backup.
Moreover, WD Smartware has additional limitations. It doesn't support Windows 10, cannot back up files in use, and backing up large files consumes significant CPU resources, resulting in a slow computer. Additionally, support for WD Smartware has ended and is no longer covered under WD's software support lifecycle.
As an alternative, we recommend using AOMEI Backupper Standard, a reliable WD auto backup software:
✲ It offers several useful features, including automatic file, system, disk, and partition backup.
✲ You can schedule backups on a daily, weekly, or monthly basis, and even set specific backup dates, times, and intervals.
✲ It also supports incremental backups, which only back up changed files, reducing the backup image size and disk space usage.
✲ It works seamlessly with various backup devices such as internal/external hard drives, SSDs, USB drives, DVDs/CDs, and NAS devices from all brands.
✲ Furthermore, this software is compatible with all editions of Windows systems, including Windows 11/10/8/7/XP/Vista, and its user-friendly interface makes it easy for anyone to perform backup tasks.
In the following steps, we will show you how to automatically backup your Windows operating system to Western Digital external hard drive using AOMEI Backupper.
Step 1. Download and install this software. If you're a server user, you can opt for AOMEI Backupper Server for enhanced functionality. Once installed, launch the software to get started.
Step 2. Navigate to the Backup tab and select System Backup from the available options.

Step 3. When you click on System Backup in the previous step, the system will be automatically selected. Next, click on the designated location indicated by the arrow and choose your WD external hard drive as the destination for the backup.

★Tip: Ensure that your WD external hard drive is connected to your computer before proceeding. If it is not connected, please do so now.
Step 4. Click on Schedule Backup to configure automatic backups to your WD external hard drive. In the pop-up window, you can set the backup to run daily, weekly, monthly, event triggers or USB plug in at a specific time of your choice.

Step 5. Click on Start Backup to initiate the automatic backup operation for your WD drive.
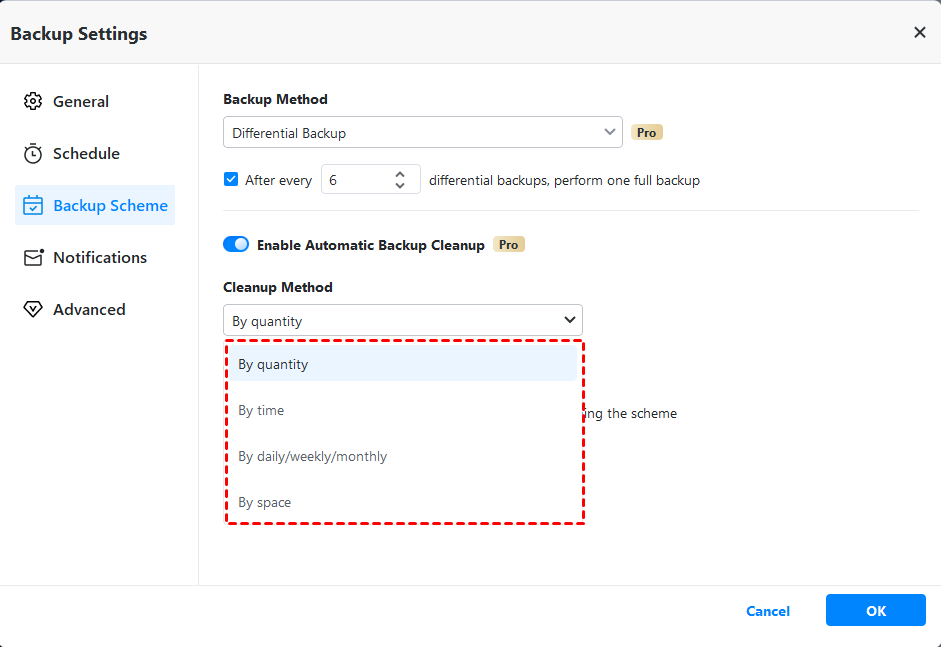
Tip: By default, the software will create one full backup and six incremental backups when you set a scheduled task. This forms a backup cycle, and over time, the backup disk will fill up if you don't delete old backups. To address this, explore the automatic backup cleanup methods available in the Backup Scheme feature. Upgrade now to access this functionality!
✍ Notes:
◉ In addition to automatically backing up your system to a WD external hard drive, you can also utilize AOMEI Backupper to sync files with an external hard drive and perform other functions as mentioned earlier.
◉ It's recommended to create a recovery environment beforehand using AOMEI Backupper if you need to restore an image file without booting into Windows. (You can find this feature in the advanced version)
Conclusion
This article describes how to use WD Discovery to backup or manage your external hard drive. Finally, we introduce you to the benefits of backing up your Windows OS to your external hard drive and how to use the professional backup software - AOMEI Backupper to automatically back up your Windows system to the hard drive. This software not only has the function of backup, but it can also perform disk clone, so download it now and give it a try!