How to Enable/Disable System Protection on Windows 11
On this page, you will learn how to enable and disable System Protection on Windows 11. Also, an easier option for Windows 11 backup and restore is introduced.
By Jonna Updated on December 15, 2023
What is System Protection on Windows 11?
System Protection is a feature in Windows operating systems, including Windows 11, that allows you to create and restore system restore points. These restore points serve as snapshots of your system's state at a specific point in time. If your system encounters issues, such as software conflicts, driver problems, or other issues that cause instability, you can use System Protection to restore Windows 11 to previous date.
So, it is recommended to turn on System Protection on Windows 11 before making any major changes to your PC. Then, how to configure and enable System Protection on Windows 11? Or, how to disable it to improve computer performance and free up drive space? Here is a full guide.
How to Enable/Disable System Protection in Windows 11
In the chapter, we will cover two methods to enable (disable) Windows 11 System Protection. The first is through the Windows Settings, and the other is using the PowerShell terminal. You can choose the way you like.
Option 1. Turn on Windows 11 System Protection from Settings
To turn on System Protection on Windows 11 via Settings:
Step 1. Click on Start > Settings or press Win + I to open the Settings app.
Step 2. Navigate to System > About and click on the System protection button.

Step 3. Under the Protection Settings section, you will see a list of available drives. It will show Off under Protection if you haven't enabled System Protection for it. Opt for the desired drive and click Configure.

Step 4. Choose the Turn on system protection option to activate the drive protection feature on Windows 11.

Step 5. You can also set up a maximum usage for system protection so it can delete old restore points automatically. Complete the process by clicking Apply followed by OK to save the changes.
To disable Windows 11 System Protection:
Similarly, go to Restore Settings, then choose Disable system protection to deactivate it. Confirm your decision by clicking Yes on the verification message window.

Option 2. Enable System Protection on Windows 11 via CMD
To turn on System Protection in Windows 11 using CMD:
Step 1. Press Win + S to open Windows Search and type powershell in the search box, and select Run as administrator.
Step 2. Type the following command to enable System Protection in the Windows 11 installation drive, C:, and press Enter. You can replace C in the command with another drive letter of your choice.
- Enable-ComputerRestore -Drive "C:\"

Step 3. Then, the System Protection feature will now be enabled on that drive.
To disable Windows 11 System Protection:
You can run the Disable-ComputerRestore -Drive "C:\" command to disable System Protection on Windows 11 via CMD.
Better Way for Windows 11 System Backup and Restore
If you can't turn on System Protection in Windows 11 or turn on System Protection greyed out on Windows 11, you can turn to the free Windows backup and restore software - AOMEI Backupper Standard for easier and better system protection.
This freeware provides multiple backup solutions including System Backup, Disk Backup, Partition Backup and File Backup, so you can backup anything and restore it easily. It has the following advantages:
✨ You have the flexibility to store backup images on various platforms, including local disks, external hard drives, network shares, or NAS devices.
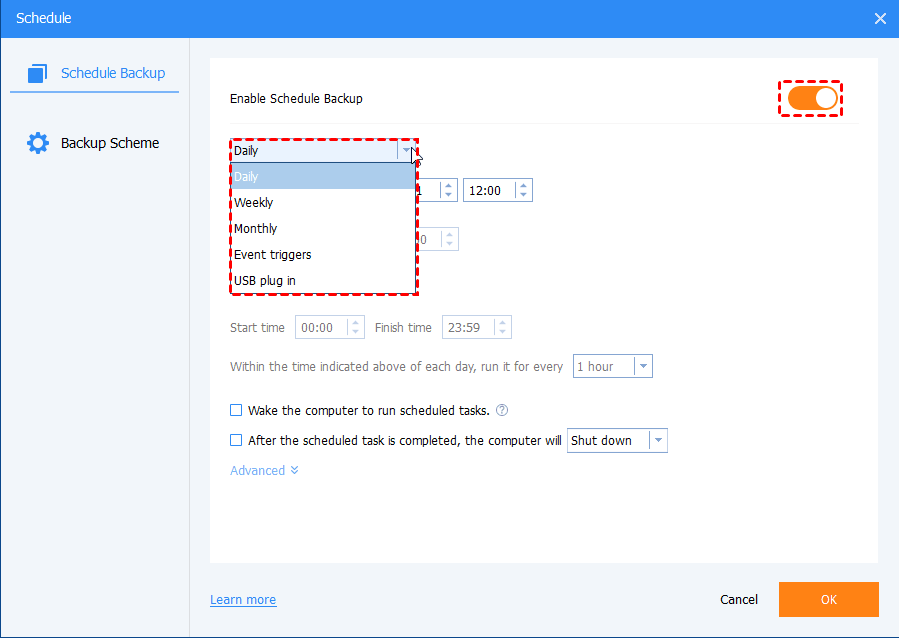
✨ It supports schedule backup, and you can choose the frequency of daily, weekly, monthly, event trigger, and USB plug in.
✨ It provides three backup methods, namely full backup, incremental backup and differential backup. Incremental backup is the default backup method and differential backup is available in Pro or higher version.
✨ It also allows you to create Windows 11 bootable USB or CD, so that you can recover a failed system when the OS on the internal storage drive does not load.
Now you can follow the steps below to perform your Windows 11 system backup and restore.
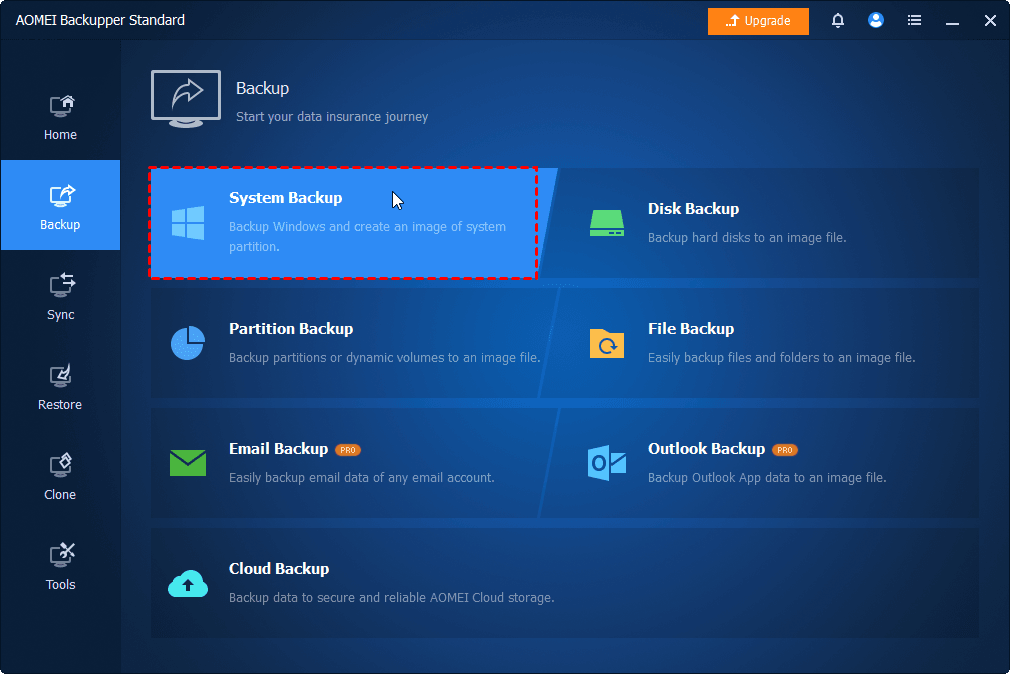
Step 1. Download AOMEI Backupper Standard, install and launch this software. Select Backup > System Backup. You can also use Disk Backup to include all the data on the disk.
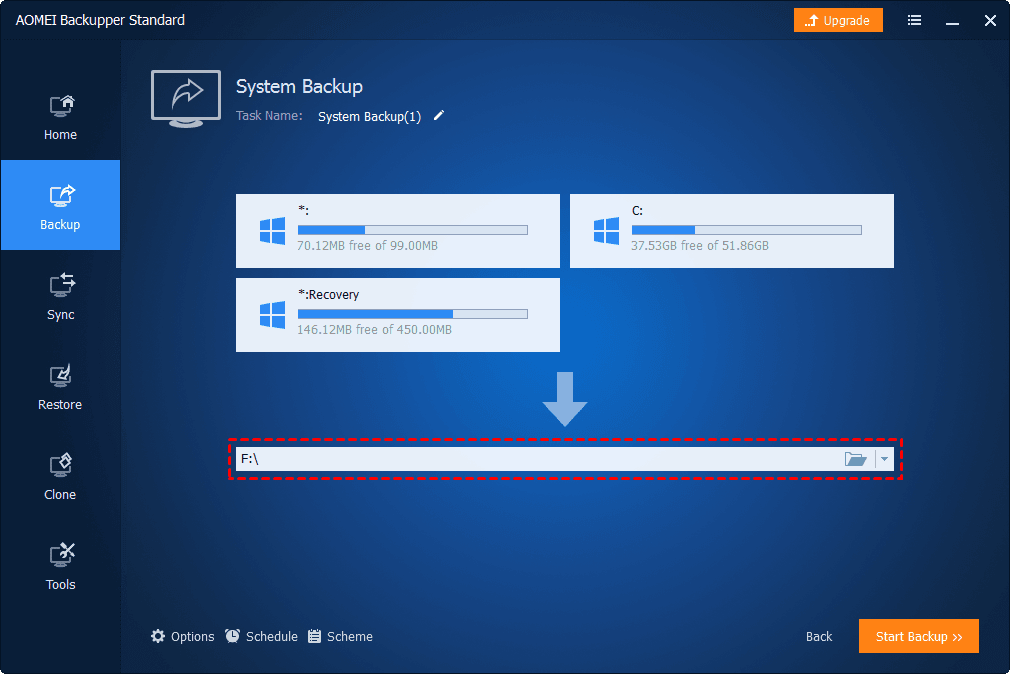
Step 2. All the system and boot-related partitions that are required to start Windows will be selected automatically. All you need to do is to choose a backup destination.
Step 3. (Optional) You can click Schedule Backup to enable the backup task to run automatically at fixed intervals. For example, if your target drive is a USB flash drive, the USB plug in option can help you backup system to USB drive automatically when it's plugged in.
Step 4. Finally, hit Start Backup to execute this backup task with this Windows 11 backup software.
To restore a backup image, click Restore from the left menu and click Select Task or Select Image File to locate the desired backup image. Then follow the provided wizard to seamlessly execute and finalize the recovery process.

Written in the End
This article introduces how to enable and disable System Protection on Windows 11. Besides, you can use the free and professional file backup software - AOMEI Backupper Standard to perform Windows 11 system, disk, and data backup and restore. In addition, this tool is also cloning software that can help you clone USB drive to SSD or migrate local drive to SSD with ease.