Automated File Transfer Using Robocopy and Task Scheduler
In Windows, you can create a auto scheduled task with Robocopy and Scheduled Task or sync freeware. Keep reading to learn how to schedule file copy.
By Miya Updated on September 15, 2023
User Case: How Do I Schedule Robocopy in Task Scheduler?
“Hey folks, quick question for you! So, I've been trying to run Robocopy from Task Scheduler, but I'm running into a bit of a snag. I'm using a Windows 10 laptop (model XYZ), and I want to schedule a regular backup of my important files to an external hard drive with Robocopy and Task Scheduler. Can anyone guide me through the steps to create this task in the Task Scheduler? I'd really appreciate it! Thanks in advance!.”
If you're only looking to move files between folders, manual copying will do the trick. However, what if these files undergo frequent modifications and you need to keep an up-to-date copy? Typically, you can create a batch file with command lines and utilize the Windows Task Scheduler to regularly copy files to another folder or even a mapped network drive.
If you find this method falling short of your requirements or prefer a simpler solution with a user-friendly graphical interface, you can also explore a robust alternative. I'll now explain these two approaches individually.
How to Auto Transfer Files with Robocopy and Task Scheduler
Okay, let's see how we can use Robocopy and Task Scheduler to automate file copying.
Step 1. Create a .bat file using a text editor like Notepad. Right-click on your desktop, select New and choose Text Document.
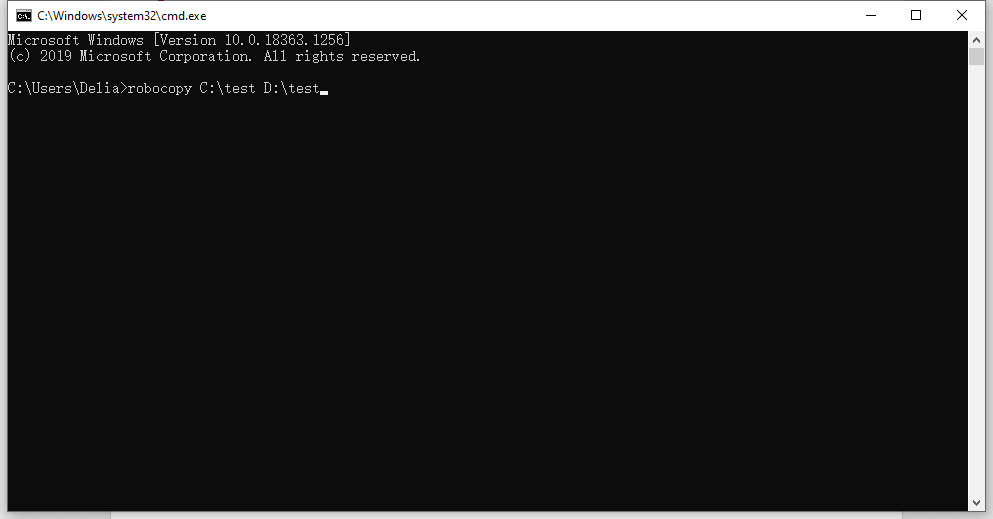
Step 2. Open the text document and enter the following command, which is the basic syntax for Robocopy:
- robocopy [source] [destination]
Tip: Specify your desired source and target directories. For example, if you want to copy files from your desktop to the D drive, use this command:
- robocopy C:\Users\Delia\Desktop\copy D:\copy
If you need to transfer files between other source and target directories simultaneously, simply add another command line in the notepad to suit your requirements.
Additionally, you can use switches to customize the file copy process. For instance:
- /s to copy subdirectories while excluding empty directories;
- /xo to exclude older files;
- /mov to move files to another folder, deleting them from the source folder.
Here's a comprehensive list of Robocopy parameters you can refer to. By picking and combining them appropriately, you can achieve various tasks.
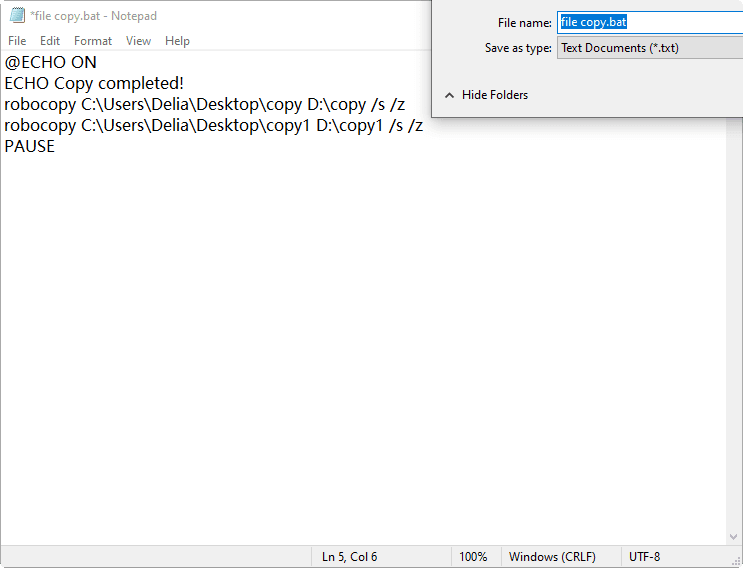
Furthermore, if you want to receive a completion message and pause the command prompt window, you can use the echo and pause commands. Here's an example script:
@ECHO OFF
ECHO Copy completed!
robocopy C:\Users\Delia\Desktop\copy D:\copy /s /z
robocopy C:\Users\Delia\Desktop\copy1 D:\copy1 /s /z
PAUSE
With this script, the Copy completed message will be displayed after the files are copied to the target directories. The command prompt window will remain paused until you press any key to continue.
Step 3. Click on File and choose Save As... to save the file. Provide a name for the file and change the extension from ".txt" to ".bat". Save it.
This will create a batch file that can be executed by double-clicking it. Additionally, you can set up a scheduled task using the Windows Task Scheduler to automate the process of copying or moving files to another folder.
Tip: Moreover, you can create a Robocopy scheduled task with specific parameters. For example, using "/MOT:m" will trigger an incremental backup if changes are detected within "m" minutes.
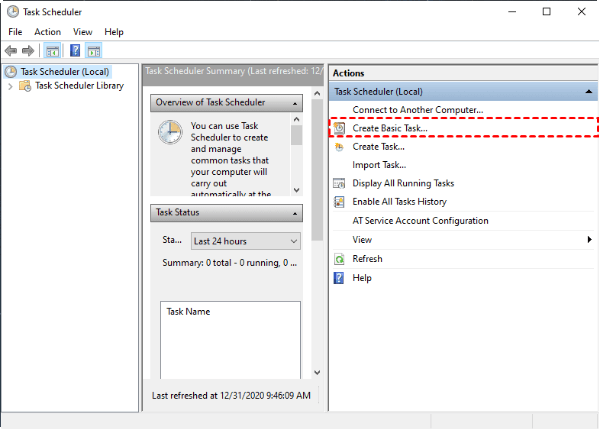
Step 4. Open the Control Panel and select the large icons or small icons view. From there, navigate to Administrative Tools and click on Task Scheduler. Alternatively, you can simply search for it directly. On the main interface, choose Create Basic Task... and follow the wizard to make your desired selections.
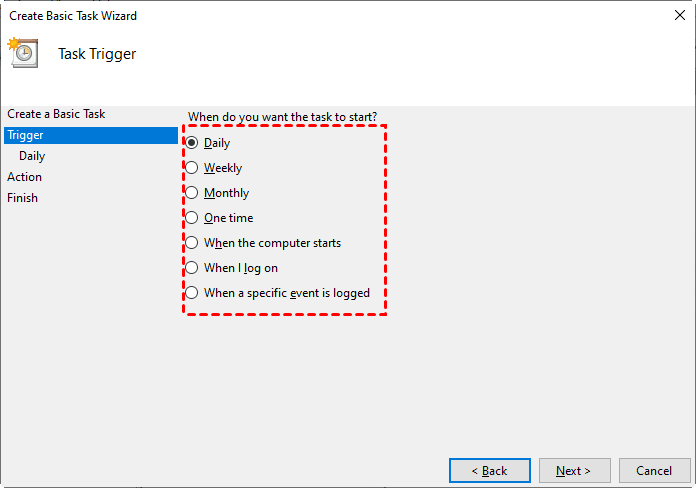
Step 5. Next, you can provide a task name and description, and select the trigger for the task. If you wish to create a scheduled task that copies files to another folder every day, simply choose the Daily option and set the specific time on the following page.
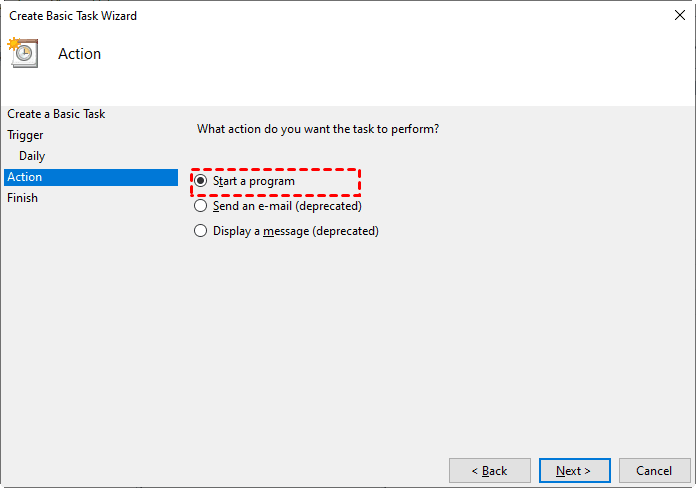
Step 6. Now, decide how you want the task to be executed. Choose the option Start a program and browse for the .bat file you have recently created.
Step 7. Once you have reviewed and confirmed all the settings, click on Finish to schedule the file copy task. You will then be able to find it in the Task Scheduler Library. Feel free to edit or delete the task as needed.
An Easier Way to Auto Copy Files with Freeware
By combining Robocopy with Task Scheduler, you gain the flexibility to accomplish various tasks, but it does require a certain level of computer knowledge. If you're seeking a more user-friendly solution with powerful data protection features, consider giving AOMEI Backupper Standard a try.
This freeware is compatible with Windows 11/10/8.1/8/7/Vista/XP and enables you to effortlessly copy files between internal/external disks, flash drives, network locations, and even cloud drives. With AOMEI Backupper Standard, you can easily fulfill your file copy tasks. Here are some advantages of this software:
✌ Scheduled Sync: It allows you to sync files automatically at specific times during the day, week, or month.
✌ Real-time Sync: The Professional edition of AOMEI Backupper supports real-time synchronization. It continually monitors designated folders and synchronizes files whenever it detects any changes in the source folder. For real-time sync, ensure that your external hard drive is always connected to your computer.
Now, let's demonstrate how to automatically sync files to an external hard drive or other locations in Windows 11/10/8/7 using the free version of AOMEI Backupper.
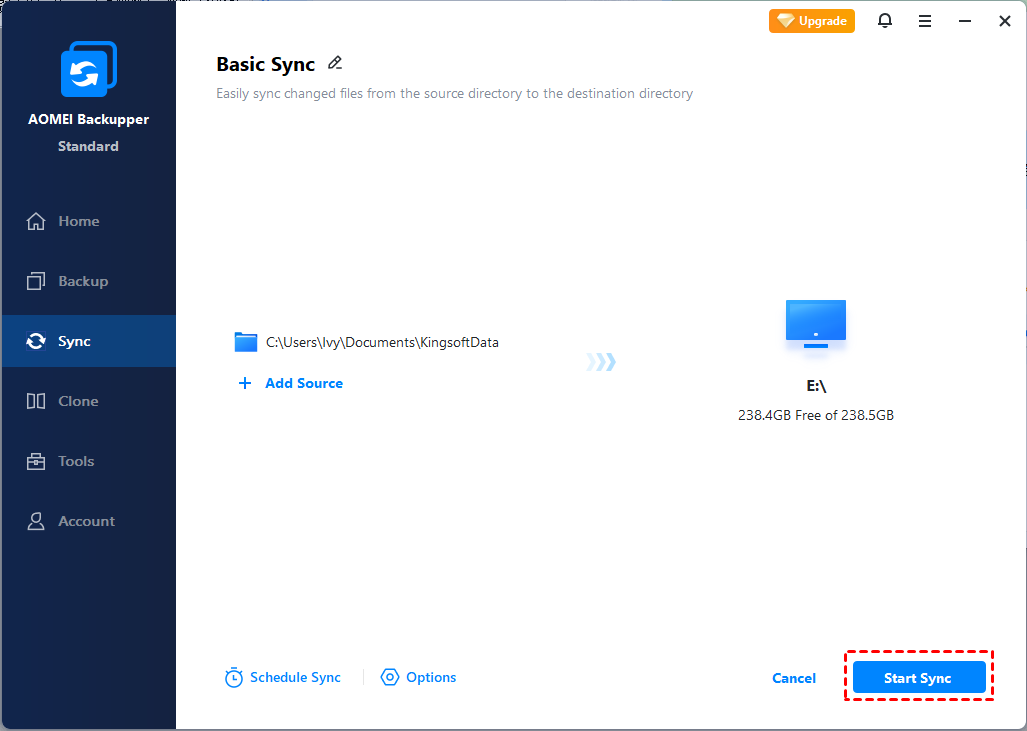
Step 1. Download, install, and launch AOMEI Backupper Standard. Once it's running, navigate to the Sync tab and select Basic Sync.

Step 2. Click on Add Folder to indicate the content you wish to copy. Next, click on the destination bar to choose the desired target path.

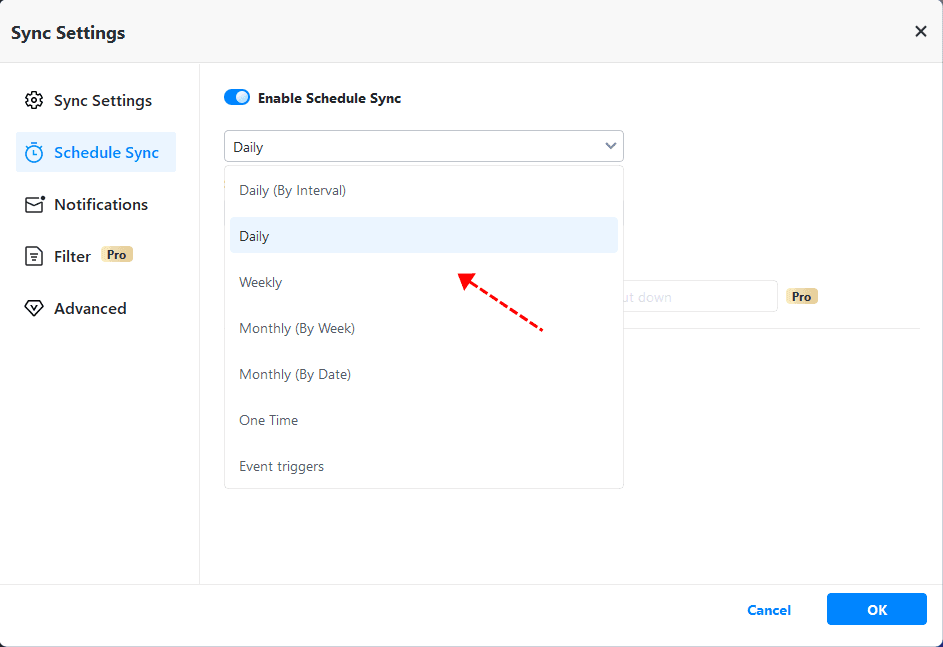
Step 3. Click on Schedule Sync to configure automatic file copying, and then click on Start Sync to initiate the execution of the scheduled task.
FAQs about Robocopy Task Scheduler
Q: Why is Robocopy Task Scheduler Not Working?
A: The Robocopy Task Scheduler may not work due to various reasons. Some common causes include incorrect task configuration, insufficient user privileges, file/folder permissions issues, misconfigured trigger settings, errors in the Robocopy command or script, problems with the Task Scheduler service, and system/software conflicts. It's important to check and adjust the task configuration, ensure proper permissions and privileges, review trigger settings, verify the Task Scheduler service status, and troubleshoot any errors or issues. Additionally, examining error messages or event logs can provide more specific insights into the problem.
Q: Why is Robocopy Task Scheduler Access Denied?
A: The "Access Denied" error in Robocopy Task Scheduler occurs when the user account running the task lacks sufficient permissions to access the files or folders involved. This can happen due to inadequate user permissions, insufficient elevated privileges, network share permission issues, encrypted files, file locks by other processes, or conflicts with anti-virus/security software. To resolve the error, ensure appropriate permissions, run the Task Scheduler with elevated privileges, check network share permissions, handle encrypted files correctly, release file locks, and address conflicts with security software.
Q: Is There A GUI for Robocopy?
A: No, Robocopy does not have a built-in graphical user interface (GUI). It is a command-line tool included with Windows operating systems. However, there are third-party applications available that provide a GUI for Robocopy, making it easier to use for those who prefer a visual interface. These GUI tools offer a more user-friendly way to configure and execute Robocopy commands by providing options and settings through a graphical interface. These tools often include additional features and functionalities to enhance the file copying and synchronization process.
Summary
Windows provides the option to create scheduled tasks for regular file copying to another folder with Robocopy and Task Scheduler. However, this method requires prior knowledge of Robocopy commands and Task Scheduler. As a more convenient alternative, you can utilize professional software like AOMEI Backupper.In addition to file backup and file synchronization, AOMEI Backupper offers a wide range of data management and protection features.
It can handle various complex data scenarios, such as transferring the operating system to another hard drive using the Disk Clone or System Clone feature. Furthermore, AOMEI Backupper caters to different user groups, including a Server edition designed specifically for Windows Server users.