Top 3 Ways to Perform QNAP Cloud Backup( Full Guide)
If you need to backup QNAP to the cloud, you have 3 ways: Hybrid Backup Sync, Cloud Drive Sync and AOMEI Backupper.
By Maggie Updated on October 19, 2023
The benefits to backup your QNAP to Cloud
I'm using a QNAP TS-251+ and looking to back up my data to the cloud. Anyone here using QNAP cloud backup with Google Drive? How's the setup process and reliability? Any hiccups to watch out for? Appreciate any insights you can share!
Likely, if you are looking for efficient ways to perform QNAP cloud backup, you can read the below article. Here gives you 3 ways:
- Hybrid Backup Sync: comprehensive, automatic, edition control
- Cloud Drive Sync: ease of use, real-time sync, lightweight
- AOMEI Backuppr Standard: easiest, user-friendly even for non-technical users, free of charge, reliable, flexible, all-around feature including backup and restore, sync and clone.
Before we explorer the exact process, let’s get some idea about the benefits from backup or sync:
▶Enhanced data protection: Natural disasters could wipe out your machines, your NAS, and any other backups you might store locally. While QNAP has onboard utilities that allow you to revert to a previous backup, your NAS is still connected to your network and susceptible to ransomware.
▶Accessibility: With your data in the cloud, your backups are accessible from anywhere.
▶Security: Cloud vendors typically protect customer data by encrypting it as it travels to its final destination and/or when it is at rest on the vendors’ storage servers.
▶Automation: Your QNAP NAS comes with a built-in backup utility so you can set your cloud backup schedule in advance and avoid human error (like forgetting to back up) in the future.
▶Scalability: As your data grows, your cloud backups grow with it. With cloud storage, there’s no need to invest in or maintain additional hardware to ensure your data is properly backed up.
According to the user case, I will show you how to perform QNAP backup Google Drive. You can choose the cloud service according to your own needs.
Full guide to backup QNAP to Cloud
# 1. Using Hybrid Backup Sync
Hybrid Backup Sync is QNAP’s built-in backup utility for syncing and backing up your NAS to the cloud. It integrates backup, restore and sync features to transfer files from QNAP NAS to local, remote or cloud storage for comprehensive data protection and disaster recovery. Here is how to perform QNAP hybrid Backup Sync.
Step 1. Access Hybrid Backup Sync 3 on your QNAP NAS by clicking the three-parallel icon located at the top left corner of the interface. If you can't locate HBS 3, you can use the search function to find it.

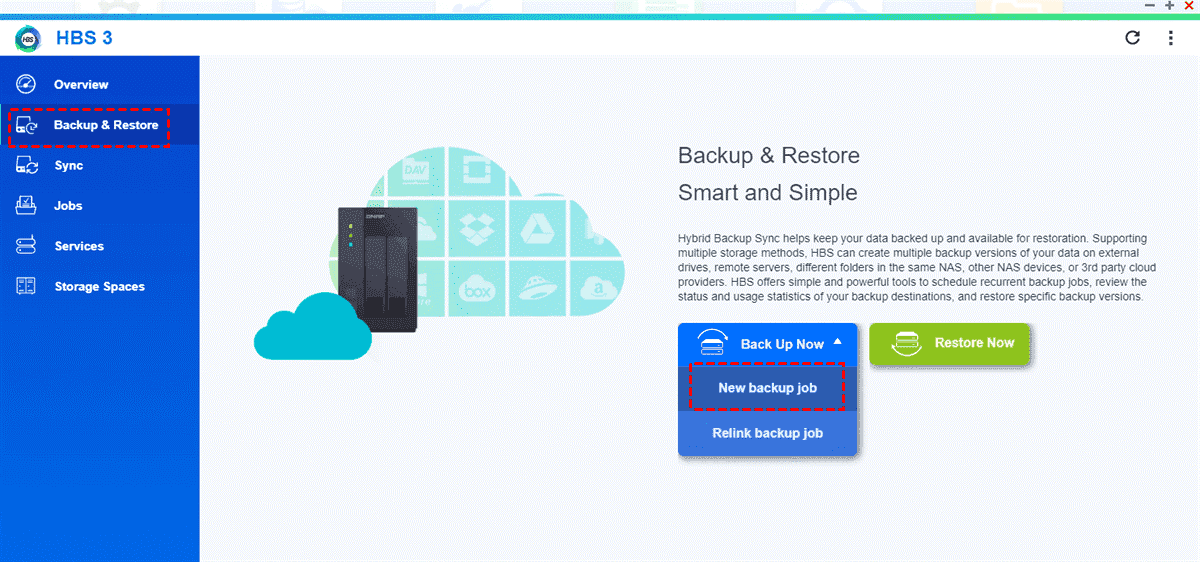
Step 2. Navigate to Backup & Restore, and then click on the New backup job tab.
Step 3. Choose the specific folder you wish to back up on your QNAP NAS and click on Next.

Step 4. Start by selecting Local NAS first, then choose Google Drive.
✍Tip: If this is your first time, HBS 3 will prompt you to sign in to your Google Drive account and grant access. Once done, click the Select button.

Step 5. Select the destination folder on Google Drive where you want your files from QNAP NAS to be stored. Afterward, click OK.

Step 6. Your backup task is now configured. Provide a Job Name and Description if desired. Once you've filled in the details, click on Next to proceed.

Step 7. Then you can set the job schedule as the below content. Or, you can tick the box before Back up Now and proceed by clicking Next.

Step 8. On the Rules page, you can set the advanced feature as you like and choose Next.

Step 9. Finally, you can Create this backup job.

As you can tell, backing up your QNAP NAS to another device isn't all that straightforward. You have to configure settings on both ends and because Hybrid Backup Sync is primarily made for QNAP NAS, there are quite a few restrictions if you want to transfer files to or from other storage devices.
# 2. Sync between via Cloud Drive Sync
Using Cloud Drive Sync, you can effortlessly synchronize your files between your QNAP NAS and well-known cloud platforms such as Google Drive, Dropbox, OneDrive, OneDrive for Business, and hubiC. Let me guide you through the process of syncing your QNAP with Google Drive.
Step 1. Install Cloud Drive Sync
First, go to the QTS App Center and download Cloud Drive Sync. Once it's downloaded, click Open to launch the app.
Step 2. Create a cloud account
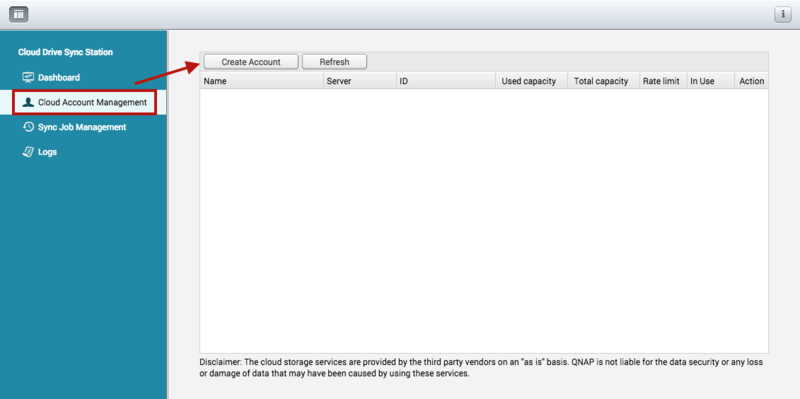
- Click Cloud Account Management > Create Account to create a new account.
- Select Google Drive from the drop-down menu under Cloud storage, then enter an account name. After that, click Sign in.
- Type in your Google Drive username and password on the authentication page. After that, click OK to complete the process.
Step 3. Create a sync job
Click Sync Job Management > Create Job. Then, click Next. When you reach the New Sync Job page, provide the Local location, Account name, and Remote location one by one. You can also set the schedule and file filters at this stage. Once everything is set, review the details, confirm, and click Finish.
# 3. Easiest way: using professional software AOMEI Backupper
The previous methods are complicated and laborious for some users. If you want to find an easier way, AOMEI Backupper Standard is the best option for you. This software is compatible with various OS, including Windows 11, 10, 8, and 8.1.
☞This tool works with well-known cloud storage services like Dropbox, Google Drive, and more. You can also perform QNAP backup to OneDrive if you need. Additionally, you can backup QNAP to external hard drive as well.
☞With this software, apart from sync feature, you can make full, incremental and differential backups of your QNAP NAS data. This gives you the freedom to suit your backup plan and save storage space effectively.
☞You can set up automatic backups at certain times or intervals. This means your QNAP NAS data gets backed up regularly without you having to do it manually.
☞Its interface is user-friendly and intuitive, so anyone, regardless of their expertise, can easily create and manage syn tasks.
Now you have a general knowledge about this software. Now download this software to try its simple Basic Sync feature.
Step 1. Launch this software. And then click Sync > Basic Sync.

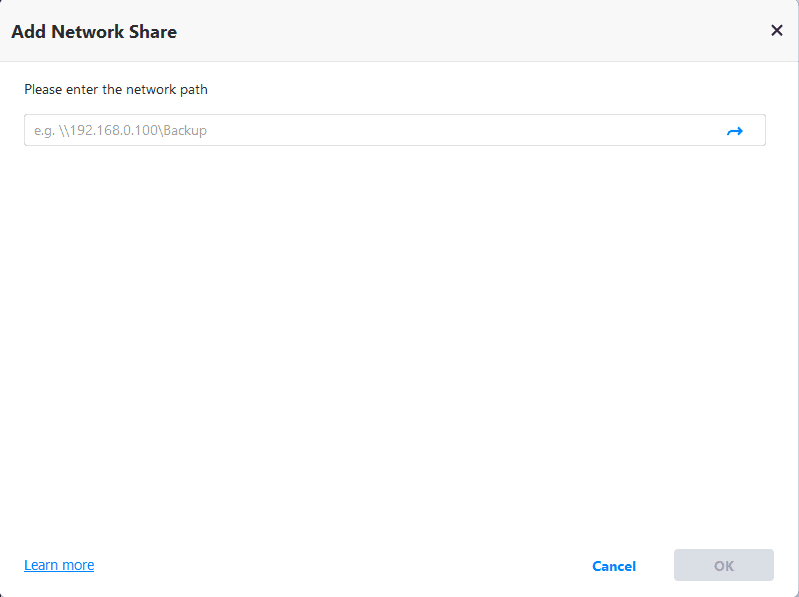
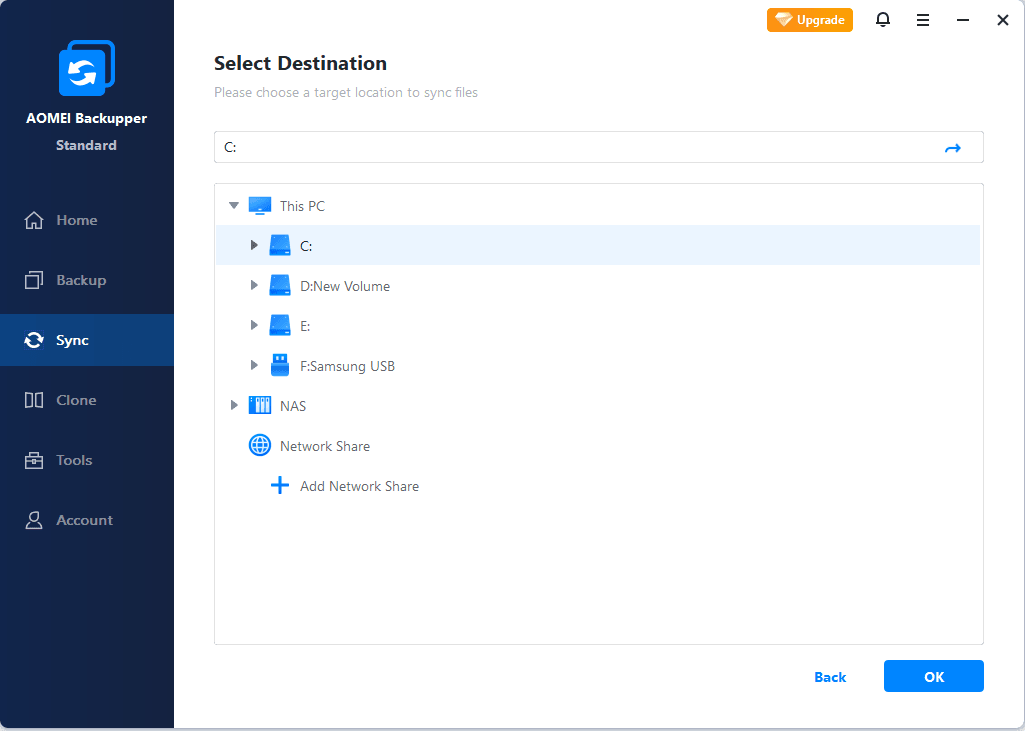
Step 2. Click Add Folder > Share/NAS > Add Share or NAS Devices. Then type your QNAP NAS path. Type username and password if it prompts.
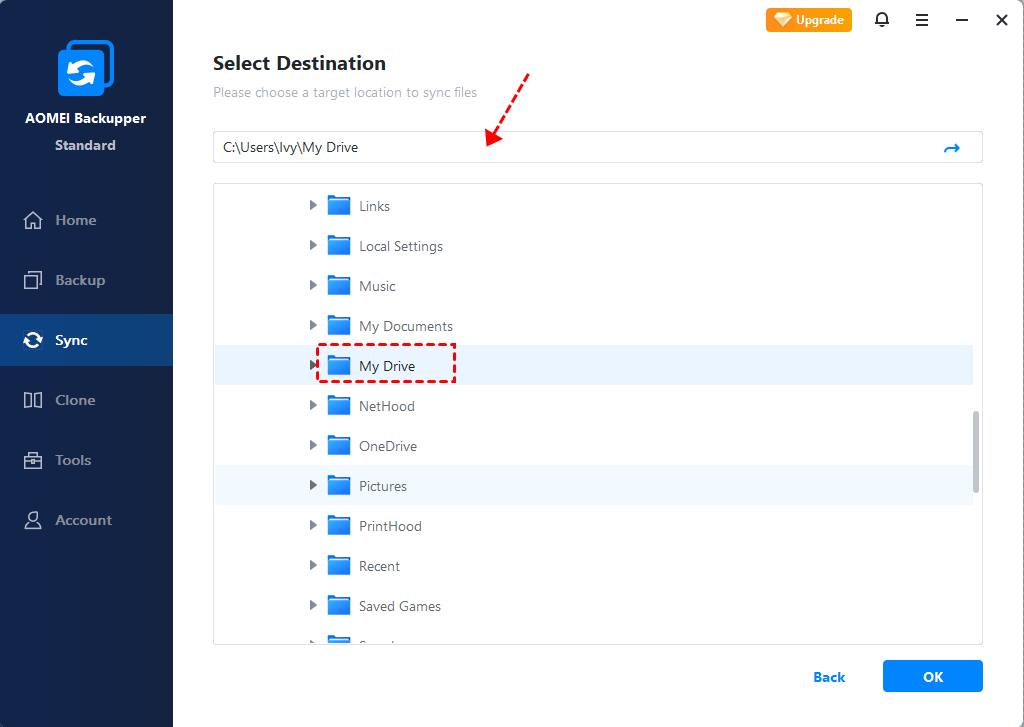
Step 3. Click the small triangle icon at the bottom of the second column, then choose Select a cloud drive
Step 4. Select Google Drive cloud and click OK. Then, back to the main page and click Start Sync.
✍Bonus Tip:
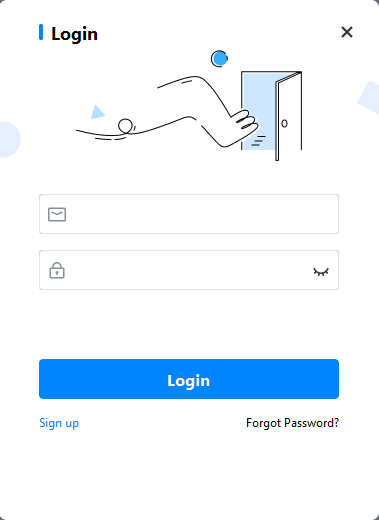
Besides Google Drive you can also use AOMEI Backupper to sync or backup files to other cloud storage devices such as OneDrive, Dropbox, etc, but all these cloud storage devices only provide very limited free capacity. AOMEI gives its users their own cloud storage solution called AOMEI Cloud. It's not only more affordable but also offers more storage space than other cloud drives out there. When you create an AOMEI account, you get a generous 1TB of free storage for the first 15 days.
Verdict
There are 3 ways to achieve one same goal. To perform QNAP cloud backup, you have more than one option. As a matter of fact, AOMEI Backupper is also QNAP backup software that provides an all-around backup strategy for NAS. Except for NAS to cloud backup, you can use this software to backup files to OneDrive desktop folder as well.