How to Migrate Local Profile to Domain: Step-by-Step Guide
You can use the method provided in this article to migrate local profile to domain or you can use software to synchronize user profiles on different computers.
By Miya Updated on September 20, 2023
Overview of Migrating Local Profile to Domain
Migrating local user profile to domain typically refers to the process of joining a computer that has been operating with a local user profile to a Windows domain. This involves creating a domain account for the user and transferring their user profile, including settings, documents, and other personal data, to the domain account.
The purpose is to integrate the computer into a centralized network environment managed by a domain controller, which allows for centralized user and computer management, group policies, and other domain-specific features. Now let's see how to convert local account to domain account.
How to Migrate Local Profile to Domain
To migrate local profile to domain, you can follow these general steps:
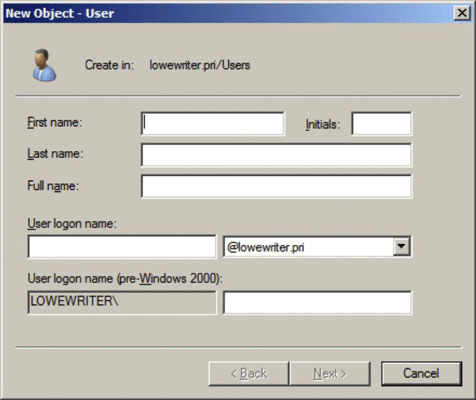
Step 1. Create Domain User Account: First, create a user account for the domain that you want to migrate the local profile to. This can typically be done by a system administrator or someone with appropriate domain privileges.
Step 2. Join the Computer to the Domain: On the computer where the local profile exists, join it to the domain. To do this in Windows:
- Open the Control Panel and navigate to System and Security or System.
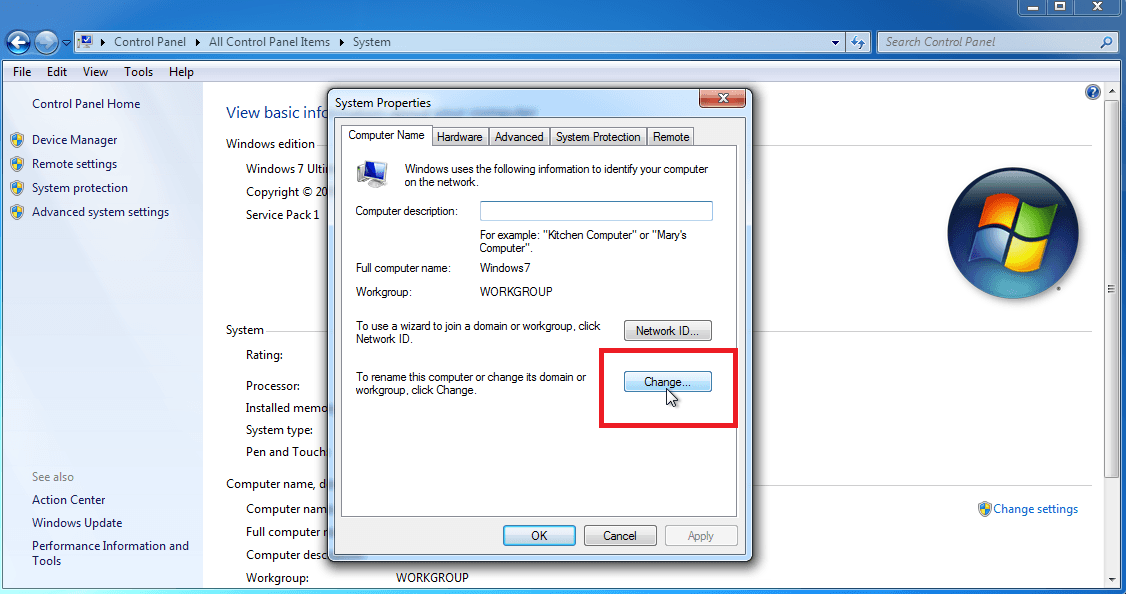
- Click on Systemand select Change settings or Change next to the Computer name or Domain option.
- In the System Properties window, choose the Computer Name tab and click on Change.
- Select the Domain option and enter the domain name. Follow the prompts to join the domain and provide the necessary credentials.
Step 3. Log in with the Domain Account: After joining the domain, restart the computer and log in using the newly created domain user account.
Step 4. Copy Local Profile to Domain Profile: Now, you need to copy the contents of the local profile to the newly created domain profile. To do this:
- Log in to the computer with a local administrator account.
- Open File Explorer and navigate to "C:\Users".
- Locate the folder with the name of the local profile you want to migrate.
- Copy the entire contents of the local profile folder.
- Navigate to "C:\Users" again and find the folder with the name of the newly created domain user account.
- Paste the contents of the local profile into the domain profile folder, overwriting any existing files if prompted.
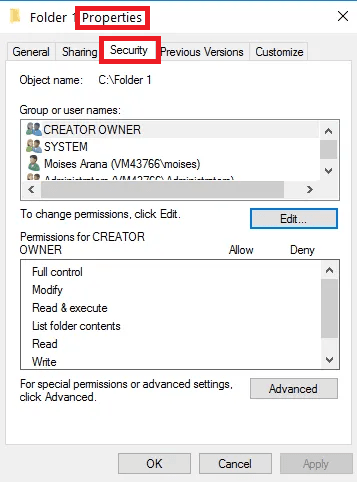
Step 5. Set Permissions and Ownership: After copying the files, you may need to adjust permissions and ownership to ensure the domain user has proper access to their profile. Right-click on the domain profile folder, select Properties, go to the Security tab, and make sure the domain user has appropriate permissions.
Step 6. Test and Verify: Restart the computer and log in using the domain user account. Verify that all the user's settings, documents, and personal data have been successfully migrated to the domain profile.
Note: It's important to note that the specific steps and options may vary depending on the version of Windows and your network configuration. It's recommended to consult the relevant documentation or seek assistance from your system administrator for detailed instructions tailored to your specific environment.
These are all the steps to migrate local user profile to domain profile. If you want to transfer user profile between different computers, please read on.
Use Third-Party Software for Profile Migration between 2 Computers
If you just want to try transferring your user profile to a new computer, then maybe you can try the professional user profile migration tool. As for this kind of tool, it’s highly recommended to use the user profile manager - AOMEI Backupper Professional, which is for Windows 7/8/10/XP/Vista (all editions, 32-bit and 64-bit).
It will help you out, and you are allowed to migrate all the user profile or single user files no matter what situations you are facing. Also, you can directly move files from one computer to another over network. This software has a wizard-like interface, so all steps become much easier.
How does it work to migrate user profiles to new computer in Windows 10/8/7 without losing any data and installed programs? See the detailed steps listed below(assuming you have a Windows 7 computer and a new Windows 10):
☝Preparations:
1. Prepare the Windows 7 computer that contains multiple user profiles that you would like to migrate (source computer).
2. Prepare the new Windows 10 computer that you want to save the user profiles from Windows 7 (target computer).
3. Create a network share folder on the new Windows 10 computer in advance.
4. Backup user profile on the source computer, just in case.
Download the best Windows profile migration tool – AOMEI Backupper Professional now. The following will provide you with specific steps. (I will use two computers with Windows 7 and Windows 10 as examples.)
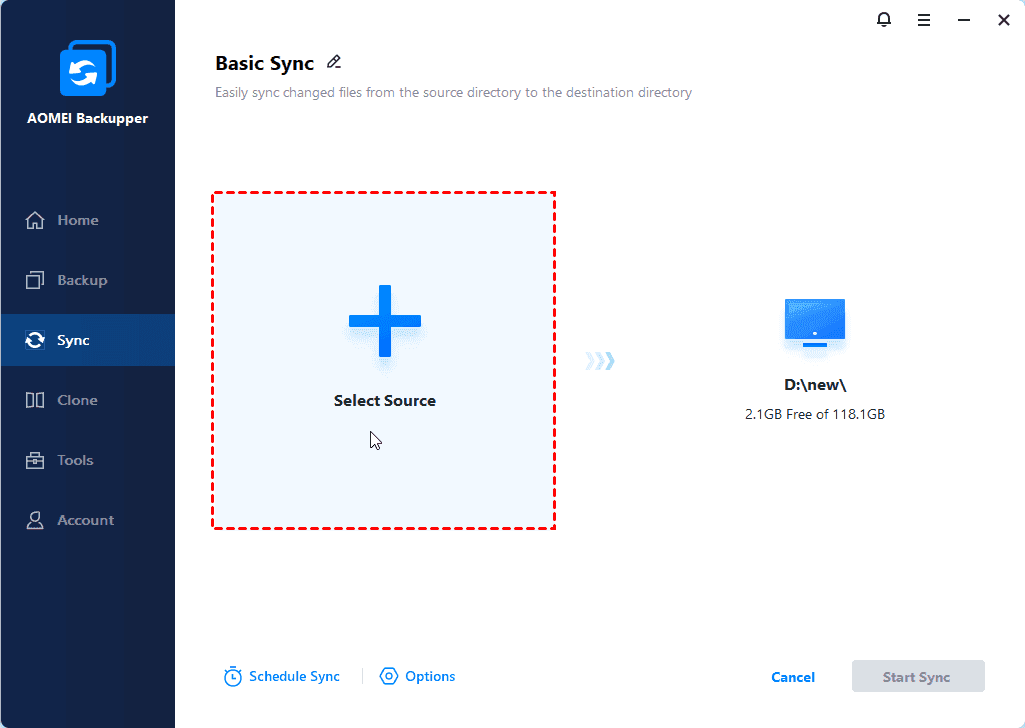
Step 1. After installing the user profile migration tool, launch the application and navigate to the Sync tab. From there, select the Basic Sync option.

Step 2. If needed, modify the Task Name accordingly. Then, click on the + Add Folder button to select the Windows 7 user profiles that you wish to migrate as the source files.
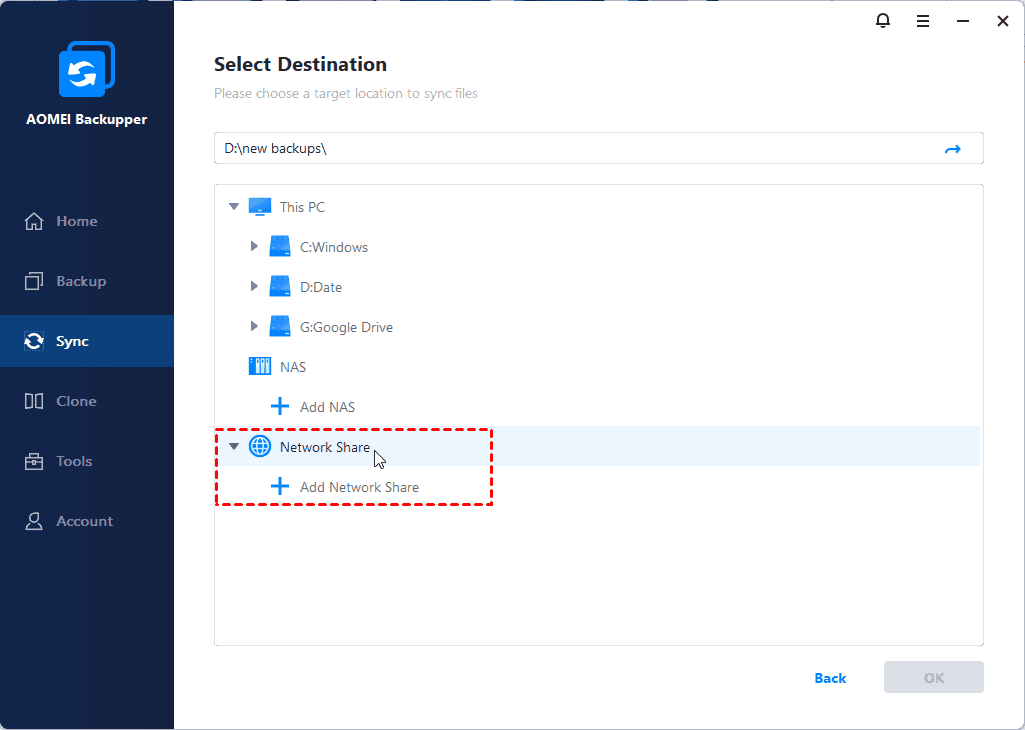
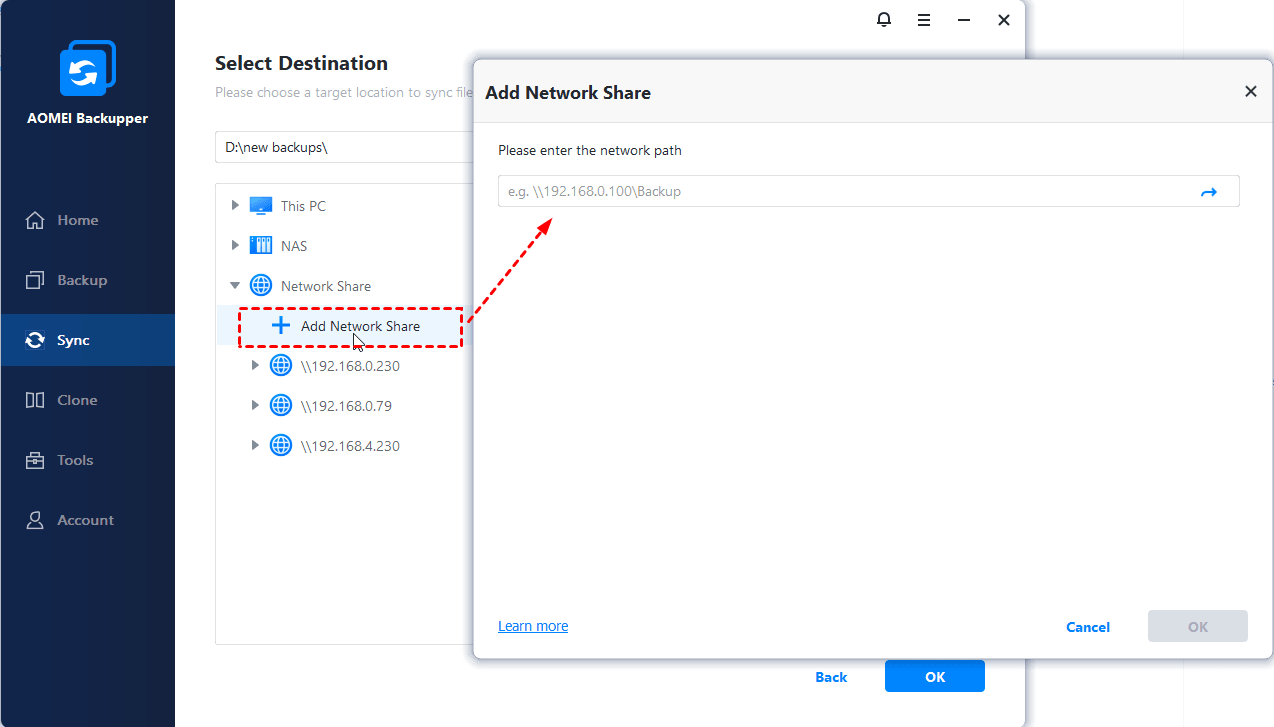
Step 3. Click on the inverted triangle icon and choose Select a network location. Then, click on Add Network Location and enter the IP address of the Windows 10 computer as the Network Path. Next, select the Windows 10 network share folder as the destination location.
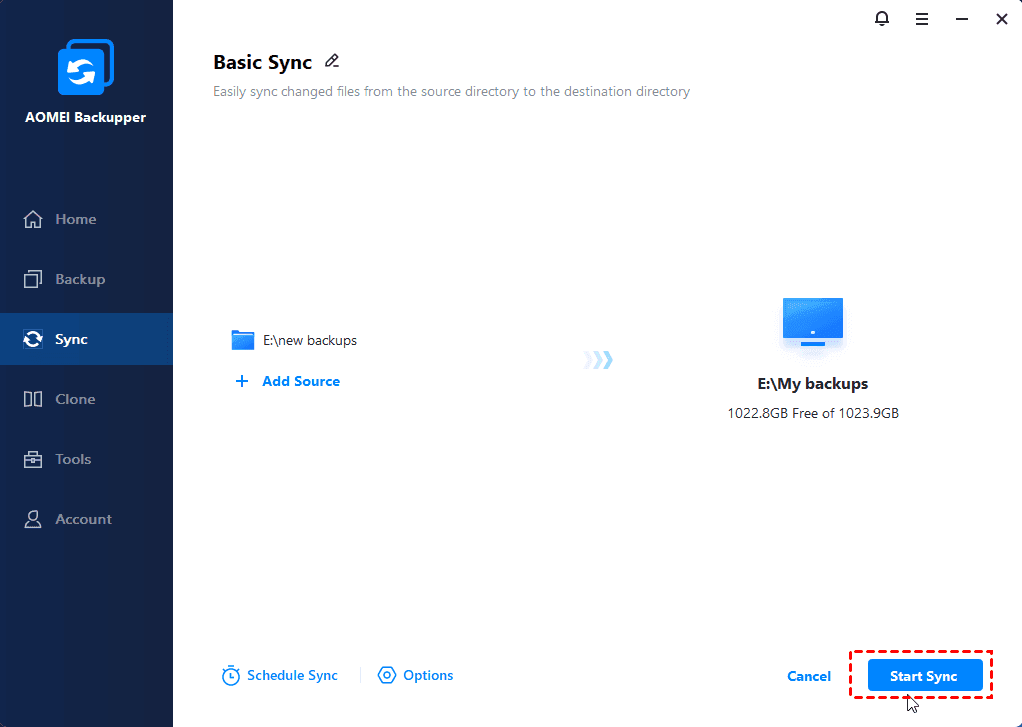
Step 4. Click the Start Sync button to effortlessly migrate the user profiles from Windows 7 to the new Windows 10 computer.
★Tips:
✍Options: Customize the task by adding comments, enabling fast synchronization, and activating email notifications. Additionally, you can select "Automatically create a folder with the same name as the task" in the target location, among other choices.
✍Real-time Sync: By enabling this feature, user profiles will be synchronized immediately after any changes occur, ensuring that all files are kept up to date.
✍Schedule: Take advantage of the scheduling feature to sync files on a daily, weekly, or monthly basis. You can also create sync tasks triggered by specific events you set up (event triggers), sync when a USB device is plugged in (USB plug in), and more.

After initiating the migration process, please wait for a moment as all the user profiles are transferred to the new computer. It's worth mentioning that you can also choose to back up the user profile to the same computer if desired.
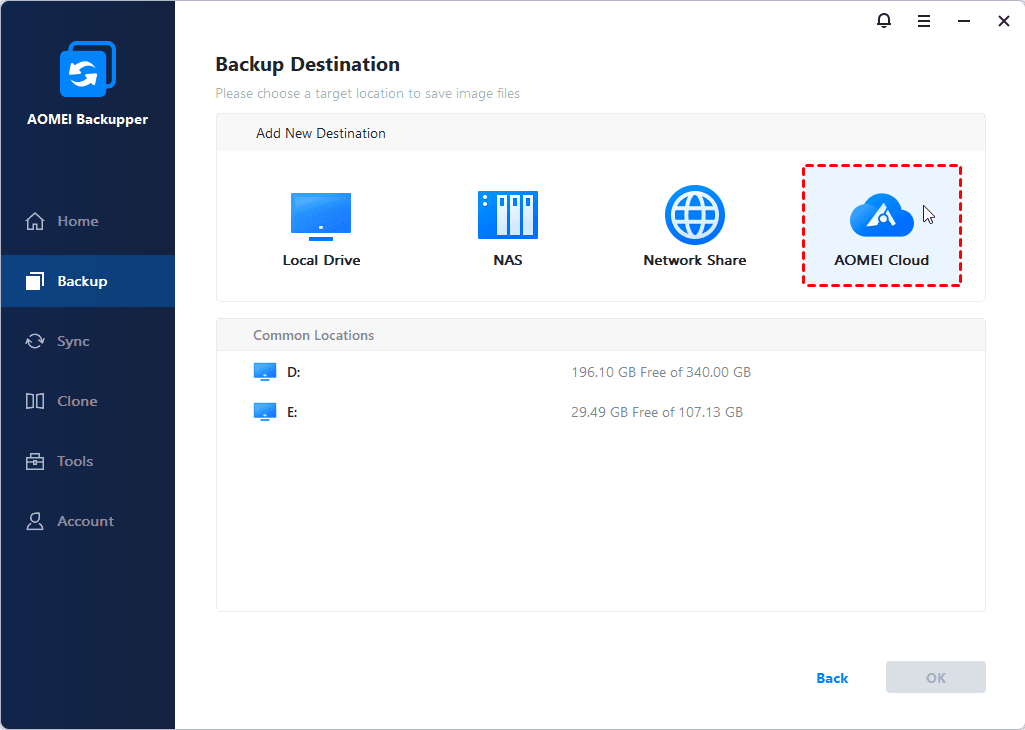
★ Bonus tip: Migrating user profiles to a new computer using AOMEI Cloud
By creating an AOMEI account, you have the option to back up user profiles to AOMEI Cloud and subsequently restore them on the new PC. Upon signing up for an AOMEI account, you will receive 1TB of free storage for a period of 15 days. This provides an additional method for conveniently transferring and safeguarding your user profiles during the migration process.
Summary
This article describes in detail how to migrate local profile to domain, you can copy and add it manually. If you want to transfer user profile seamlessly between 2 computers, then I recommend you use a professional data sync software - AOMEI Backupper Professional. It not only has the above-mentioned features, but also has possibility to transfer data from Windows 8.1 to Windows 11 with data transfer feature. Try it now!