Enable Dell Secure Erase SSD Step by Step in Best 2 Ways
In this guide, you will be able to master best 2 ways to enable Dell secure erase SSD with graphical steps. After wiping, data on SSD cannot be recovered any longer.
By Clytze Updated on April 28, 2023
Overview of Dell data wipe SSD
Data wipe in Dell BIOS is a feature available on select Dell computer models such as the Latitude, Precision, OptiPlex and XPS series. It allows users to secure erase data from a hard drive or SSD by accessing it from the computer's BIOS settings. Erased SSD data cannot be recovered, so it is a useful feature for users who want to protect sensitive data or reconfigure their SSD.
However, it is important to note that not all models in these series may support this feature and may also require a specific BIOS version or configuration. It is recommended that you review the user manual to confirm compatibility before attempting to use Dell data wipe in the BIOS.
In the following part, I will present the stepwise tutorial for you to enable Dell data wipe SSD. Continue reading if you also have the demand to finish the task.
Step-by-step guide to enable Dell wipe hard drive from BIOS
Here, I’ve presented the detailed steps on how to use Dell data wipe in BIOS to wipe SSD data securely.
1. Power down your Dell and wait 10 seconds. Then power it up, immediately pressing [F2] and then the system will enter the BIOS Setup.
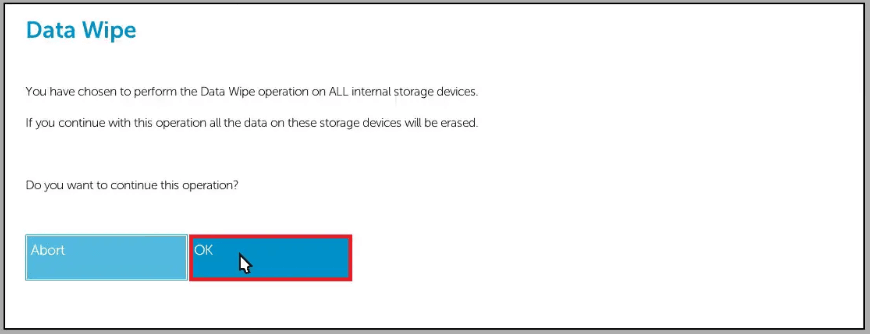
2. You can select "Wipe on Next Boot" from the Security > Data Wipe. Select OK at the warning. It will ask you whether "You want to Cancel this Operation?" Select No to proceed.
3. Exit BIOS Setup to force a reboot of the system and begin the data wipe process.
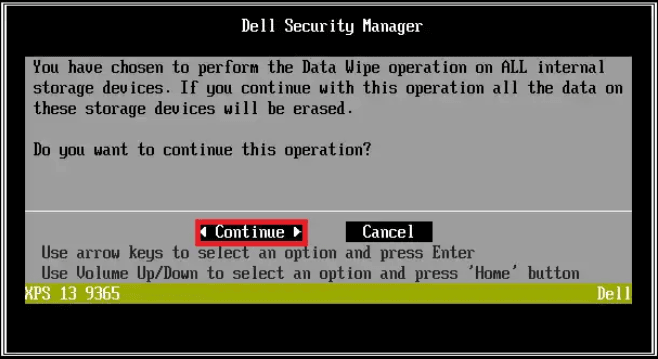
4. Then the Dell Security Manager will load informing you that you will wipe all internal storage devices. Select Continue.
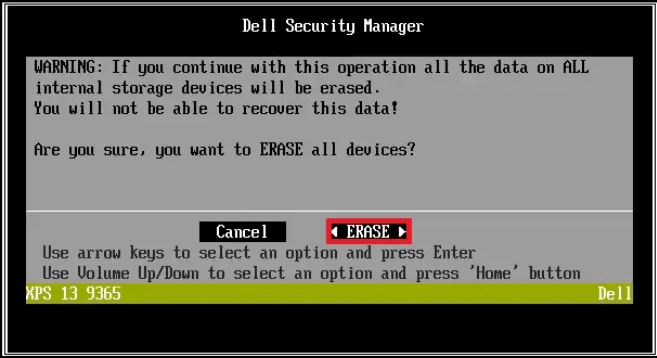
5. Select Erase and then the wipe process will begin.
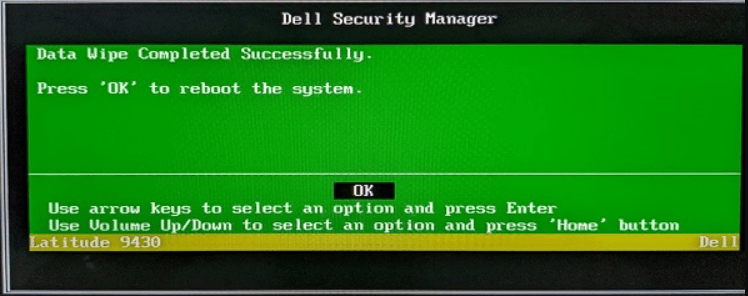
Tip: A successful erase procedure is reported by a green dialog and the "Data Wipe Completed Successfully" message. If there are any failures, they are presented instead of the success dialog: "Reboot the system and reinstall the OS".
🌟 Some cautions you need to pay attention to:
- Only internal storage devices are supported: SATA hard drives, SSDs and eMMC, depending on the type of device supported by the system.
- All internal drives in the system are erased. There is no option to erase only certain storage devices.
Easier and more secure way to enable Dell secure erase SSD
Besides you use the Dell data wipe utility to erase all data on SSD, you can also try the best SSD wipe tool – AOMEI Backupper Professional to completely delete files on SSD and make it unable to recover. With its Disk Wipe feature, you can decide to wipe the entire disk or specific partitions or unallocated space. You can learn more about it below:
◐Support various SSDs. You can use it to securely wipe data on different brand SSDs such as WD, Samsung, HP, Dell, Seagate, etc. and different SSD types such as SATA, NVMe, PCIe, M.2, U.2, etc.
◑Support wipe multiple devices. You are allowed to wipe C drive, a USB drive, hard disk drive, SSD as well as SD card.
◐4 wiping methods. It offers you with 4 wiping methods, they are Fill sectors with zero, Fill sectors with random data, DoD 52220.22-M, Gutmann.
◑Wipe without Windows. You are able to create a bootable disk so that you can wipe a hard drive when there’s an accident occurs on your computer.
Follow the illustrated steps below to completely wipe SSD in Dell computer with AOMEI Backupper.
Just click the button to download and install this tool on your PC. This version is designed to run on all Windows PC operating systems, like Windows 11/10/8/7/Vista/XP. For Server users, try AOMEI Backupepr Server.
Tip: Please note that the wiping process will erase all your data on SSD and it cannot be recovered. It’s suggested to backup SSD in advance.
Step 1. Launch AOMEI Backupper Professional. Go to Tools > Disk Wipe and click it.

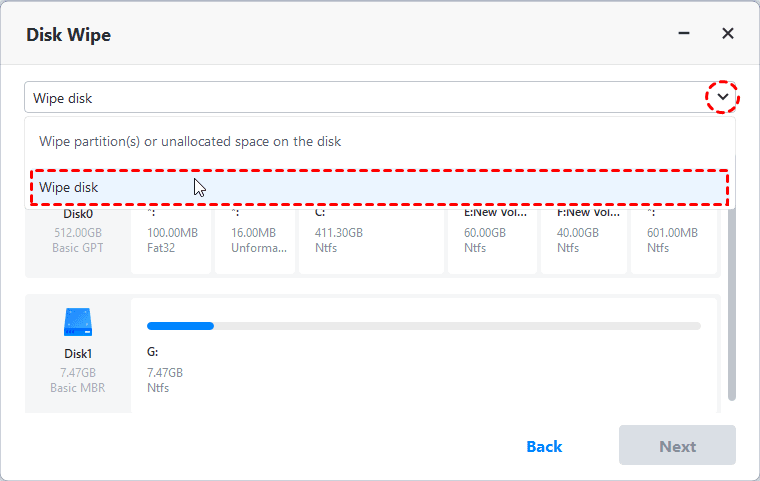
Step 2. In the wiping type window, you will be provided with 2 choices: Wipe selected partitions or unallocated space on the disk, Wipe disk. Select Wipe disk to wipe all sectors on the SSD at once and click Next.
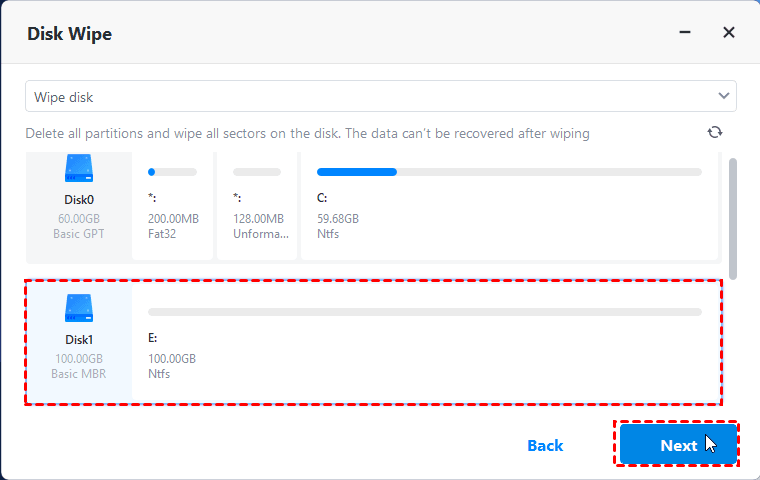
Step 3. Select the SSD you want to wipe and click Next.
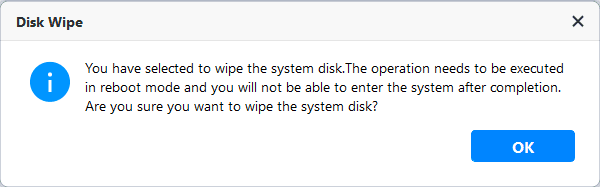
Tip: if you are choosing to wipe the system disk, a popup window will prompt you that wipe boot drive will run in reboot mode, press OK to confirm.
Step 4. In Wiping Method window, select Fill sectors with Zero and click Start to continue the process.
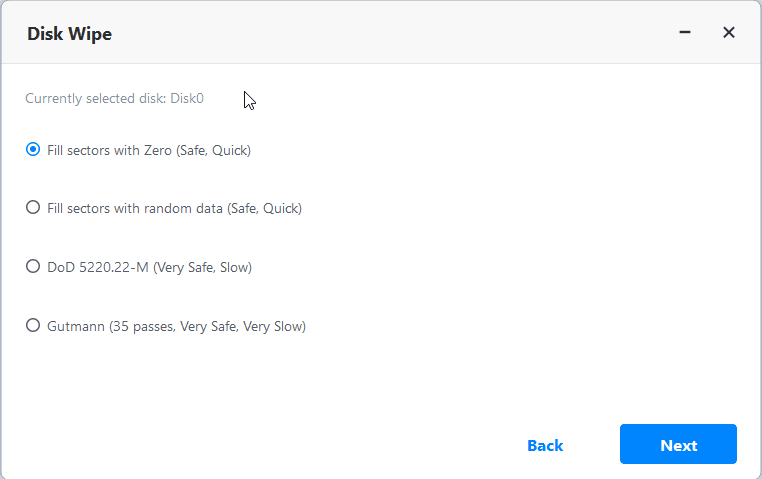
Tip: Safer wiping method comes with a slower wiping speed. If you want a safer choice, you can choose the other three different wiping methods: Fill sectors with random data, DoD 52220.22-M, Gutmann.
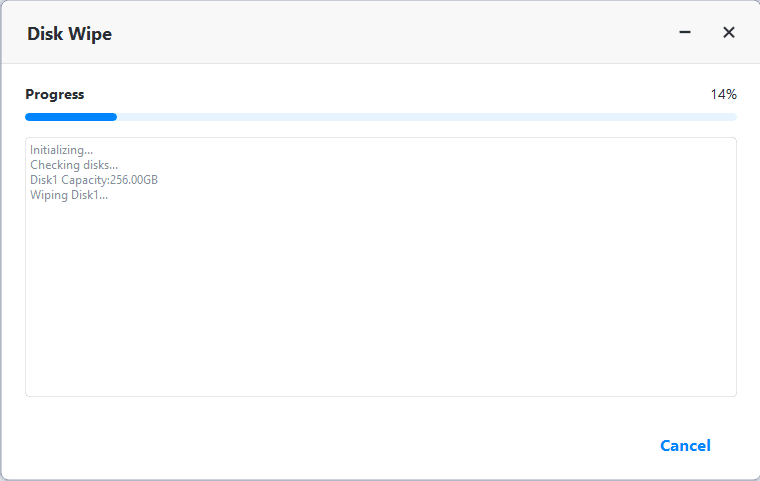
Step 5. You will then be taken to the Progress page where you can see the status of the task completion. If you want to stop it, you can click Cancel.
✍ Notes:
✄ This feature doesn’t support wiping dynamic disks.
✄ It is also a portable disk wipe utility that can assist you create portable version to wipe disks safely and conveniently on any computer without having to install it every time.
Final words
Now it’s your turn to enable Dell secure erase SSD with the provided 2 methods in the above content. Once the files on SSD have been completely erased with either the Dell data wipe tool or AOMEI Backupper, they are unable to be recovered by any recovery solutions.
Luckily, AOMEI Backupper is embedded with more flexible wiping features than Dell data wipe, which makes the wiping process easier and more secure without the limitations. You can also use this best disk clone tool to clone SSD to SSD on Windows 11 to migrate data on the target SSD to another safe place. There are many other excellent features waiting for you to explore.

