Solved: Crucial MX500 Not Booting after Cloning
If you find your Crucial MX500 cannot boot after cloning, then read this article to find solutions.
By Maggie Updated on January 26, 2024
User Problem: Why can’t I boot Crucial MX500 after clone?
“I purchased a Crucial MX500 1TB SSD to replace my 1TB WD HDD. Using Acronis True Image For Crucial I cloned the HDD and for two glorious days it ran like a demon. It was super impressive. I removed the old HDD and thought about smashing it with a hammer. Then on the third day, it all went wrong, Windows wouldn't load, many BSODs, and nothing I tried would resolve the issue. Trust me, I scoured the interwebs and tried everything I could, but, alas, to no avail. It simply won't boot. Any idea?”
Likely, you may have tried to replace your old HDD with an SSD due to its faster reading and writing speed and higher stability. However, the cloned drive not booting issue occurs in Windows 11/10/8/7 every now and then, like the reported 'Crucial MX500 not booting' error.
If you are struggling with the problem of Crucial MX500 not booting, and have no idea about how to fix it, don’t worry, try to figure out the causes and solve it after learning the tutorial.
Here is a list of possible causes to explain why your Crucial SSD won’t boot after the clone. Check and then get rid of any of them.
- The cloned drive is not set as the first boot option.
- The boot mode isn't compatible with the cloned GPT/MBR disk.
- The unique SID (system identification number) has been cloned to the target disk as well.
- The boot configuration data (BCD) got corrupted during migration.
- Other errors during cloning, such as the bad sectors on the source drive being migrated to the target drive.
You may get a sketchy overview of the causes, now try to settle down the Crucial MX 500 not showing up issue.
How to fix Crucial MX500 not booting after cloning
Now you have an overview of the possible causes of such issue, and the troubleshooting methods are given below. But before, it's best to make sure that the cloning process was successful and error-free. To avoid incorrect cloning(like miss copying the boot sector/ the necessary partition), you can use reliable cloning tool:
Easiest Windows cloning software for personal use.
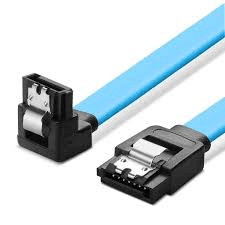
Method 1. Use an alternative SATA cable
Sometimes, the problem of Crucial MX500 not showing up on your computer occurs due to an incorrect connection. Now try to use a SATA cable to replace your original USB cable. Then, check carefully if your Crucial SSD can be connected. If Crucial MX500 not detected in BIOS still exists, then move to the next method.
Method 2. Change boot order in BIOS
If your cloned SSD is not set as the first boot option in BIOS, your computer won’t boot from it then. Thus, you need to change the boot priority. You can follow the below tutorial to set SSD as the first preference.
Step 1. Restart the PC. When the startup screen appears, constantly press F1/F2/DEL to enter BIOS.
Step 2. Next, use the arrow key to choose the Boot tap and select the cloned SSD as the first boot option.
Step 3. Press F10 to save and exit BIOS. And restart your computer.

Please wait patiently. After this, now your Crucial MX500 not detected issue has been solved and then your computer should be able to boot up from the cloned SSD.
Method 3. Switch BIOS mode to UEFI (GPT) or Legacy (MBR)
Here's an important point to remember: MBR disks work with Legacy BIOS, while GPT disks work with UEFI. So, if you're cloning from an MBR HDD to a GPT SSD, or the other way around, you'll need to switch the boot mode accordingly. Using the wrong boot mode could prevent the SSD from booting after cloning.
To change the boot mode, you'll need to enter the BIOS during startup. Look for the boot mode option, usually under the Boot tab, and select either Legacy or UEFI, depending on what's needed for your setup.

Method 4. Fix corrupted BCD
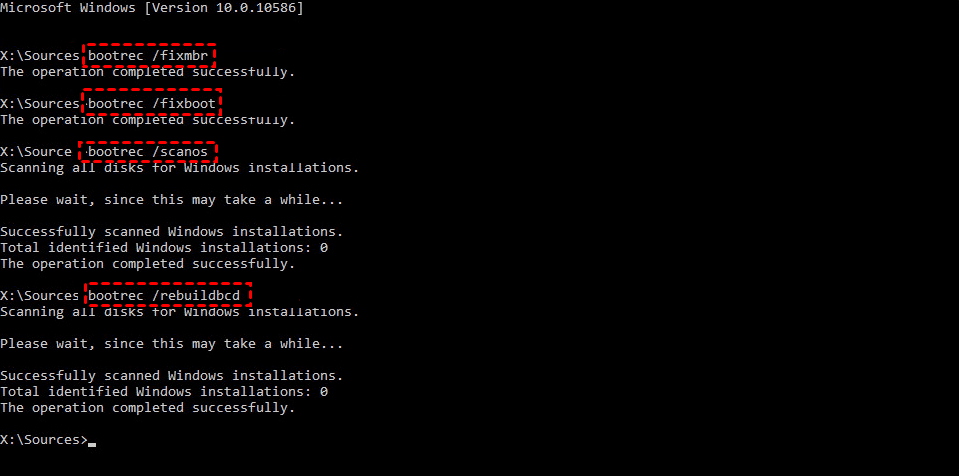
If the cloned drive doesn't boot because of a corrupted BCD (Boot Configuration Data), don't panic. You can access the Windows recovery environment and use Startup Repair. Just go to Advanced options, then Troubleshoot, and select Advanced Options. From there, you can run Startup Repair to fix it. Alternatively, you can use Command Prompt to run bootrec.exe commands to rebuild the BCD.
- Bootrec /fixmbr
- Bootrec /fixboot
- Bootrec /scanos
- Bootrec /rebuildbcd
Method 5. Re-clone HDD to SSD
If you have tried the above-mentioned methods but are still in vain, your SSD may have a problematic clone from your old hard drive. Then you need to consider to re-clone it. It’s wise to choose a reliable clone software to execute the clone process. AOMEI Backupper Professional, is a highly recommended clone software that can complete the re-clone process. And the process tutorial is located in the next part.
Best clone software to clone HDD to Crucial MX500 SSD
This software is designed for cloning hard drives and SSDs and it is highly competitive in the market and recommended by millions of users. You can choose to clone an entire disk or clone a partition or volume per your needs. Hereby, it offers you a “Disk Clone” feature to clone HDD to Crucial MX500 SSD. After cloning, you can successfully boot your computer from the cloned disk. Additional features about the software you may want to know as followed:
☛ By default, it uses “Intelligent clone”, making it easy to clone large HDDs to smaller SSDs. Because this mode only clones the used sectors of a disk.
☛ It supports all series of Crucial SSDs, such as Crucial MX500, Crucial BX500, Crucial P5 Plus, etc. This also helps to clone Samsung 870 EVO, WD Black SN750, SanDisk Ultra, etc.
☛ Its “SSD Alignment” feature helps to improve SSD disk performance, such as reading and writing speed.
Now download AOMEI Backupper Professional, install and launch it. Before starting, please make sure you have connected the Crucial SSD to your computer.
Step 1. On the left page, click Clone and then click Disk Clone.

Step 2. Choose your old HDD as the source disk.

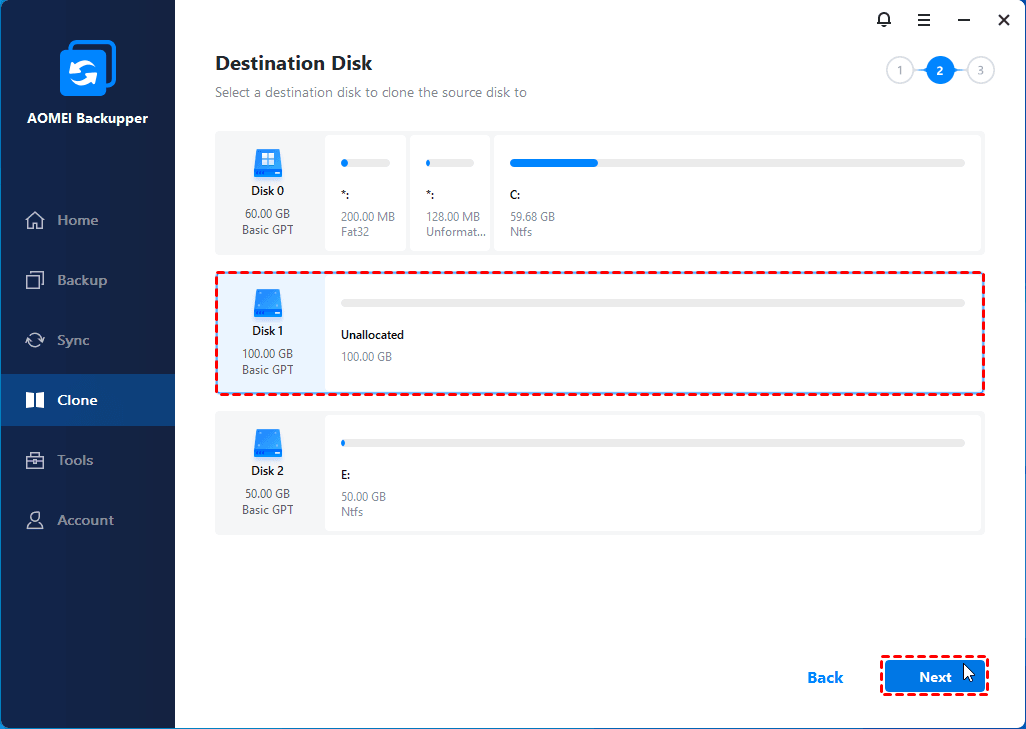
Step 3. Choose the Crucial MX500 SSD as the destination disk.
Step 4. Tick SSD Alignment to make the disk’s reading and writing speed faster. Confirm your operations and click Start Clone.

🚀Other useful options:
- Sector By Sector Clone: This feature lets you clone all sectors on the source disk, whether they're used or not. If you're cloning from a large hard drive to a smaller SSD, it's usually best to avoid using this option. However, if you're cloning the system-reserved partition, it's important to tick this option to ensure it works properly on the cloned drive.
- System Clone: If you want to clone only OS to target drive, e.g. clone Windows 10 to NVMe SSD, you can use this option.
- Edit Partitions: When cloning a small disk to a larger disk, you can choose "Add unused space to all partitions" or "Manually adjust partition size" to use full capacity of the larger disk.
Conclusion
In conclusion, when you get the trouble of crucial MX500 not booting, check and solve the issue with the above 5 ways. Note please make sure the cloning process is correct and completely, or the cloned drive won't boot after that.
Why not using AOMEI Backupper to migrate your drive peacefully and completely? Apart from Crucial SSD, it also serves as a powerful alternative to Seagate DiscWizard Windows 11/10.