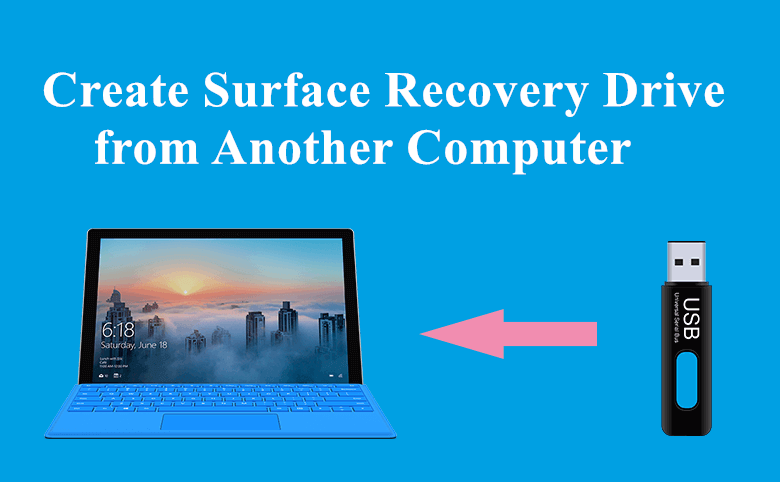
How to Create Surface Recovery Drive from Another Computer
Learn the essentials of creating a Surface recovery drive from another computer. This guide offers a step-by-step process, highlights the advantages of AOMEI Backupper, and ensures you're equipped to master the art of recovery drive creation.
By Jonna Updated on February 6, 2024
Can you Create a Recovery Drive from Another Computer?
In the ever-evolving digital landscape, the need for a reliable recovery solution is paramount. However, if the current computer is unable to boot up, can you create a recovery drive from another PC? The answer is yes! This guide navigates through the intricacies of creating Surface recovery drive from another computer, providing step-by-step solutions to empower users in safeguarding their Surface devices.
Understanding the Challenge: The Need for Surface Recovery Drive
The Predicament
Imagine encountering a critical issue with your Surface device, leaving it unresponsive and in dire need of recovery. This common scenario underscores the importance of having a Surface Recovery Drive on standby.
Causes of Surface Recovery Drive Need
System Corruption: A corrupted operating system can render your Surface device unusable, necessitating a Surface recovery USB for troubleshooting.
Boot Errors: Persistent boot errors can impede the normal startup process, requiring external intervention via a recovery drive.
Virus or Malware Attack: Malicious software can compromise your Surface device, making a recovery drive essential for restoring it to a healthy state.
Step-by-Step Guide to Creating Surface Recovery Drive from Another Computer
There are two ways and another additional solution to create Surface Pro recovery USB from another PC. Choose the way you prefer.
Way 1. Use the Create a Recovery Drive feature in Windows
Step 1: Check Prerequisites
1. Gather a USB Drive: Prepare a USB drive with at least 16 GB of storage.
2. Ensure Adequate Power: Connect your Surface device to a power source to prevent interruptions during the creation process.
Step 2: Access Control Panel
1. Navigate to Control Panel: Open the Control Panel on your computer.
2. Access Recovery Options: Click on "Recovery" and select "Create a recovery drive."
Step 3: Begin Recovery Drive Creation
1. Launch Recovery Drive Wizard: Follow the on-screen prompts to launch the Recovery Drive Wizard.
2. Select USB Drive: Choose the prepared USB drive as the destination for the recovery drive.
Step 4: Create Surface Recovery Drive
1. Initiate Creation: Start the creation process by clicking "Next" and then "Create."
2. Wait for Completion: Allow the wizard to complete the process. This may take some time.
Step 5: Safely Eject USB Drive
1. Eject USB Drive: Once the creation is complete, safely eject the USB drive.
2. Label and Store: Label the drive clearly as your Surface Recovery Drive and store it in a safe place.
Way 2. Use Media Creation Tool
Step 1. Download Media Creation Tool from Microsoft Website
Open a web browser on the secondary computer, go to the official Microsoft website, and click the "Download tool now" button to get the MediaCreationTool.exe.
Step 2. Launch Media Creation Tool
Locate the downloaded tool (usually in the Downloads folder). Double-click to run the Media Creation Tool. Then, Read and accept the license terms to proceed.
Step 3. Create Installation Media
1. Select "Create Installation Media":
Choose the option that says, "Create installation media for another PC."
2. Choose Language and Edition:
Pick the language, edition, and architecture that matches the Surface device.
Step 4. Insert USB Drive
1. Connect USB Drive:
Insert the USB drive into a USB port on the secondary computer.
2. Select USB Drive:
On the tool, select the USB drive as the destination for the recovery files.
3. Completion Prompt:
Once the process is complete, a prompt will appear. Click on "Finish" and safely eject the USB drive.
4. Label the Drive:
Clearly label the USB drive as your Surface Recovery Drive.
AOMEI Backupper: Elevating Surface Recovery Drive Creation
In addition to the native Windows recovery options, leveraging AOMEI Backupper can enhance the recovery drive creation process, ensuring a robust and efficient solution.
Using AOMEI Backupper for Surface Recovery Drive Creationfrom Another PC
To create a Surface Recovery Drive using AOMEI Backupper, follow these steps:
Step 1. Download and install AOMEI Backupper on your computer.
Step 2. Launch the software, click "Tools" from the left panel, and select the "Create Bootable Media" option.
Step 3. Opt for bootable disc type from Linux-based or Windows PE-based, and click "Next." Note that Linux-based bootable media only allows you to use basic functions of AOMEI Backupper, while Windows PE allows you to access full functions.
Step 4. Choose your connected USB drive as the bootable media destination.
Step 4. Follow the prompts to complete the creation process.
Addressing Common Queries: Navigating Surface Recovery Drive Creation
Q: Can I use any USB drive for the Surface Recovery Drive?
Ideally, it's recommended to use a USB drive with at least 16 GB of storage to ensure compatibility and sufficient space for recovery files.
Q: How often should I update my Surface Recovery Drive?
It's advisable to update your Surface Recovery Drive whenever there are significant system changes, such as updates or new installations.
Q: Can I use AOMEI Backupper for other backup needs?
Absolutely! AOMEI Backupper offers a comprehensive suite of backup and recovery solutions, making it versatile for various data protection needs.
Demystifying Technical Jargon: Key Terms in Surface Recovery
Recovery Drive:
A Recovery Drive is a bootable USB drive containing essential files for troubleshooting and restoring a Surface device.
Bootable Media:
Bootable media refers to external devices, like USB drives, capable of starting a computer and running recovery or installation processes.
Control Panel:
Control Panel is a Windows utility that provides access to various system settings and tools, including recovery options.
Expert Tips for Surface Recovery Drive Mastery
Regular Updates: Keep your Surface Recovery Drive updated to ensure compatibility with the latest system changes.
Labeling is Key: Clearly label your Surface Recovery Drive for easy identification during critical situations.
Test Periodically: Periodically test the functionality of your Surface Recovery Drive to verify its effectiveness.
Conclusion
As we conclude this guide on creating a Surface Recovery Drive from another computer, you are now equipped with the knowledge to navigate this essential aspect of device management. Whether utilizing native Windows options or optimizing the process with AOMEI Backupper, the creation of a Surface Recovery Drive is a proactive step toward ensuring the resilience and longevity of your Surface device. Store this drive securely, update it regularly, and face any unforeseen challenges with confidence.