Backup Windows 10 PC to QNAP NAS Step by Step
QNAP NAS is good for backup. Learn how to backup Windows 10 PC to QNAP NAS network storage with step-by-step guide to ensure your Windows 10 computer is protected.
By Clytze Updated on October 25, 2022
QNAP NAS is a great backup solution
Network Attached Storage (NAS) is largely used as a way of saving backups. If you do not want to go the DIY approach, then QNAP NAS is a great choice. QNAP NAS provides excellent data transfer speed to ensure the backup go smooth and allow you to easily move the backups to external storage devices when needed. Since some users concern about the stability of Windows 10, you should backup Windows 10 PC to QNAP NAS in case unexpected issues that may cause data loss.
NAS backup software
For backing up to network location, AOMEI Backupper can do a great job in Windows 10/8/7. It is available for System Backup, Disk Backup, Partition Backup, and File Backup. You can set scheduled/automatic backup followed with incremental backup or differential backup. You can keep all the backup versions or enable Backup Scheme to automatically delete old backup versions. If, somehow, your computer crashes, you can either use a bootable media created by AOMEI Backupper or AOMEI PXE tool to restore system to earlier date.
How to backup Windows 10 PC to QNAP NAS
To create backup over NAS network location with AOMEI Backupper is quite easy. In fact, this software also applies to backup Windows 10 to NAS drive. You can refer to the stps below to see how it works.
To backup to NAS in Windows 10
Step1. Download AOMEI Backupper Standard, install and launch this software. Under “Backup” tab, select “System Backup”. If you want To backup the entire PC, you can choose “Disk Backup”.

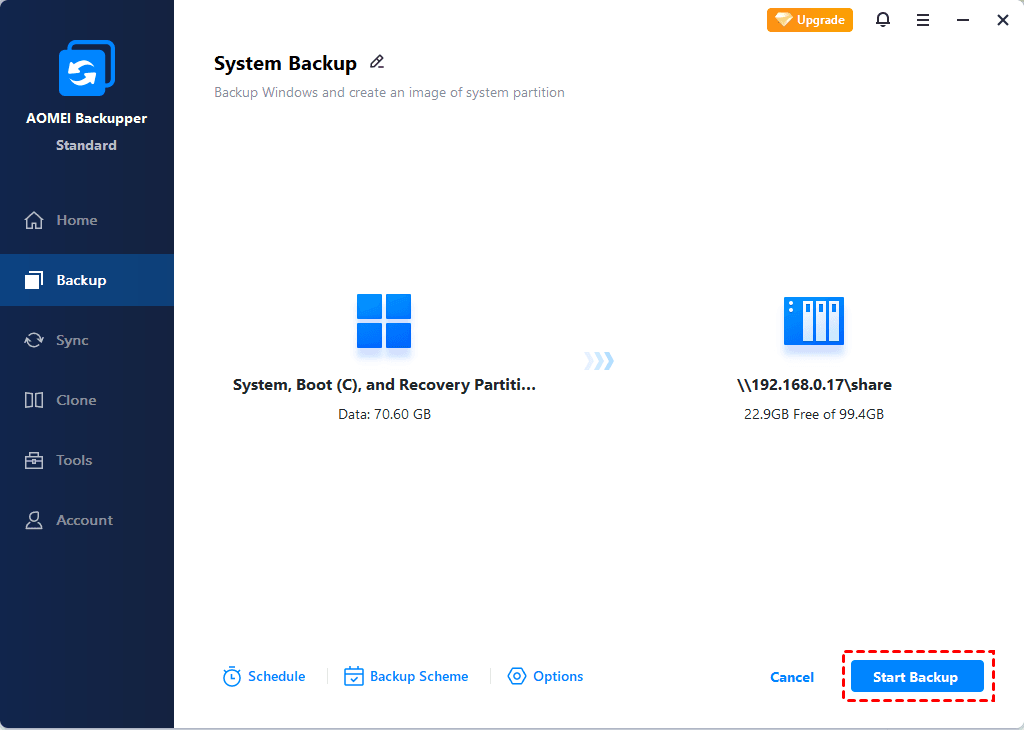
Step2. Then you can see system partition has been automatically included in “Step 1”, and what you need do is to select the NAS device as the destination location to receive the backup in “Step2”.

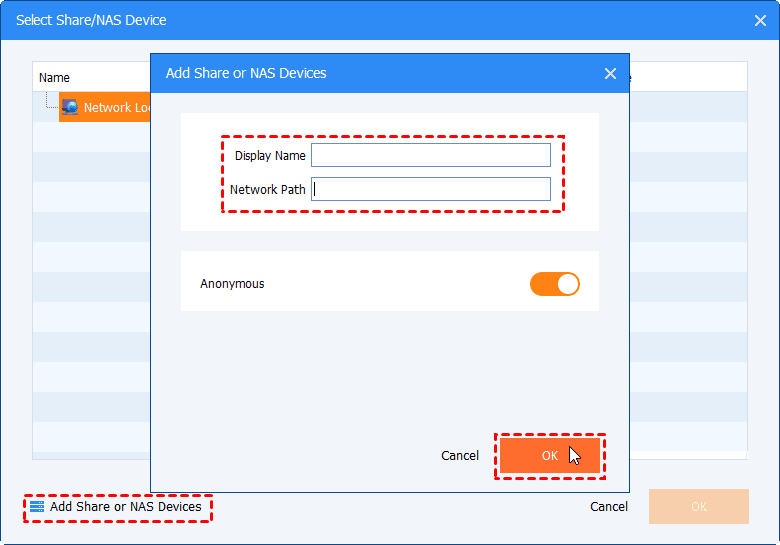
Step 3. On the next screen, click “Add Share or NAS device" and type the address of the NAS device.
Step4. After specifying the destination location, you can click “Schedule” to set a scheduled to run this backup if need be. Then click “Start Backup” to run the backup.
In a short while, the backup will be complete, and then you can create a bootable rescue media just in case system crash. Besides the ability to backup Windows 10 PC to QNAP NAS, AOMEI Backupper also provides cloning function. You can use it to clone large hard drive to smaller SSD without reinstalling Windows.

