
Fix: DISM/Online/Cleanup-Image/Restorehealth Stuck
This article delves into the perplexing issue of "DISM Online Cleanup Image RestoreHealth Stuck." Offering valuable insights into user cases, reasons for running DISM, and actionable fixes, this guide empowers readers to overcome the challenge.
By Penny / Updated on May 15, 2024
In the vast landscape of Windows troubleshooting, users often find themselves grappling with the confounding scenario of "DISM Online Cleanup Image RestoreHealth Stuck." Picture this: an attempt to optimize and restore the health of the Windows image, only to find the process mired in stagnation.
This user case is not an isolated incident, leaving individuals searching for solutions to fix DISM online cleanup image restoreheath stuck.
Reasons to Run DISM Online Cleanup Image RestoreHealth
Running DISM Online Cleanup Image RestoreHealth is a proactive measure undertaken for various reasons:
1. System Health Maintenance: DISM is a powerful tool for maintaining the health of the Windows system by repairing and preparing the Windows image.
2. Corruption Resolution: It serves as a remedy for corrupted system files, addressing issues that may hinder the smooth operation of Windows.
3. Windows Update Preparation: Running DISM is often a prerequisite for installing Windows updates, ensuring a stable platform for the update process.
Feasible Fixes for DISM Online Cleanup Image RestoreHealth Stuck
Encountering a stuck DISM process can be frustrating, but fret not—effective fixes are at your disposal. Follow these steps to perform DISM troubleshooting.
1. Check for Internet Connection
Before initiating DISM, ensure a stable internet connection. A poor or interrupted connection can lead to the process getting stuck. Connect to a reliable network and restart DISM to resume the restoration.
2. Run DISM in Safe Mode
Sometimes, third-party applications or conflicting processes may interfere with DISM. Running DISM in Safe Mode can isolate these issues. Follow these steps:
1. Boot into Safe Mode: Restart your computer and press F8 during the boot process to access Safe Mode.
2. Run DISM: Open the Command Prompt as an administrator and run the DISM command.
3. Restart: Once the process is complete, restart your system in normal mode.
3. Utilize DISM Cleanup and ScanHealth Commands.
Execute additional DISM commands to clean up the image and scan for health issues:
1. Open Command Prompt as an administrator.
2. Run the following commands:
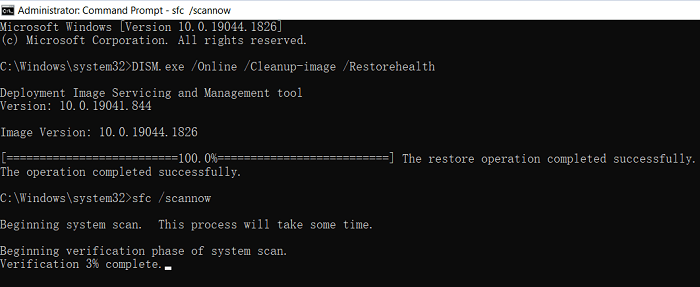
DISM /Online /Cleanup-Image /ScanHealth
DISM /Online /Cleanup-Image /CheckHealth
3. Restart your system after the commands are complete.
4. Disable Windows Defender
Windows Defender might interfere with the DISM process. Temporarily disable Windows Defender and run DISM again. Remember to enable Windows Defender after the process.
5. Use DISM with Windows Installation Media
If all else fails, use DISM with Windows installation media:
1. Create a Windows installation USB or DVD.
2. Boot from the installation media.
3. Select "Repair your computer" > "Troubleshoot" > "Advanced options" > "Command Prompt."
4. Run DISM commands as needed.
By implementing these fixes, users can troubleshoot a stuck DISM process and restore the health of their Windows system.
Data Resurrection: Recovering Missing Files with MyRecover
Running DISM may lead to missing files, but fear not—MyRecover is here to rescue your missing files after DISM. This powerful data recovery tool offers many features.

- MyRecover's intuitive design ensures that users of all levels can navigate the recovery process effortlessly.
- Whether it's documents, photos, videos, or more, MyRecover supports the recovery of a diverse range of file types.
- The tool's deep scan feature ensures a thorough search for missing files, leaving no stone unturned.
- Users can preview recoverable files before initiating the recovery process, ensuring precision in file selection.
Operating Steps for File Recovery with MyRecover
MyRecover is extremely easy to use, please follow the steps below. Then you may know how to recover missing files after DISM.
Step 1. Install and run MyRecover on your Windows. Hover the mouse over the drive that saved missing files before, and click Scan.

Step 2.MyRecover will automatically do Quick Scan and Deep Scan to show all recoverable files. You could pause and stop the process at any time if your files are found.
🌟Tips: Preview or filter encrypted files depending on Document Type, Size, Date, Path, etc. You can also specify the file name in the search box to locate it quickly.
- Type: Select the file type (Documents, Images, Videos, Audios, Mails, Webpages, Compressed files, etc.)
- Modification Date: Set the date (today, yesterday, last 7/30 days, etc.)
- Size: Filter the file size (<128KB, 128KB~1MB, 1MB~ 512MB, 512MB above,etc.)

Step 3. Choose the encrypted files you want from the drive to recover and click "Recover x files". The restore button will display the number of selected files and their total size to determine the integrity of the recovered files.

Step 4. You will then be asked to choose a location. Please choose a new location rather than the old location to avoid overwriting data.

In Conclusion
In the dynamic landscape of Windows troubleshooting, fixing "DISM Online Cleanup Image RestoreHealth Stuck" is a triumph achievable with the right knowledge and tools.
From understanding the reasons behind running DISM to implementing practical fixes and recovering missing files with MyRecover, this guide empowers users to navigate the intricacies of DISM with confidence. By staying informed and proactive, users can ensure a seamless Windows experience.
FAQs
How often should I run DISM to maintain system health?
Can I run DISM on a system with third-party antivirus software?
What if DISM commands in Safe Mode don't resolve the issue?