Best Lenovo System Migration Assistant for Windows 11, 10, 8, 7
This article tells you how to migrate user files and settings or entire system partition using Lenovo System Migration Assistant alternatives while this tool has been discontinued. Learn more about details now!
by Jonna Updated on August 23, 2023
About Lenovo System Migration Assistant
ThinkVantage System Migration Assistant (SMA), a free system manageability program, runs on your Lenovo notebook and desktop computers. As part of the ThinkVantage Technology family of solutions, SMA enables users to transfer their work environment from one computer to another.
Simply put, SMA can be used to migrate the following: user profiles, system & network settings, email, and other data. It features a silent mode that allows IT personnel to automate the migration process to a large number of systems. Besides, SMA has a user-friendly interface that makes it easy to operate.
However, since December 1, 2013, this tool has been discontinued by Lenovo and is no longer available for download from Lenovo. Lenovo has stopped supporting any new deployments or installation of this software. You can use it if your computer has this software installed. If not, try Lenovo System Migration Assistant alternative - Lenovo Migration Assistant tool and AOMEI Bacupper in the following.
How to use System Migration Assistant in Lenovo
When referring to Lenovo System Migration Assistant, many users are not sure how to operate it correctly. The following is a quick overview of how it works. You can use this guide to transfer OS from one computer to another.
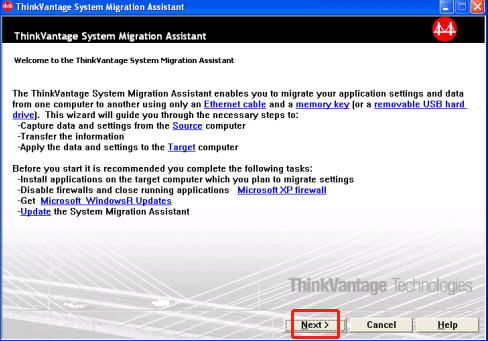
Step 1. Log on to the source computer. Go Start ﹥ Programs ﹥ ThinkVantage ﹥ System Migration Assistant.
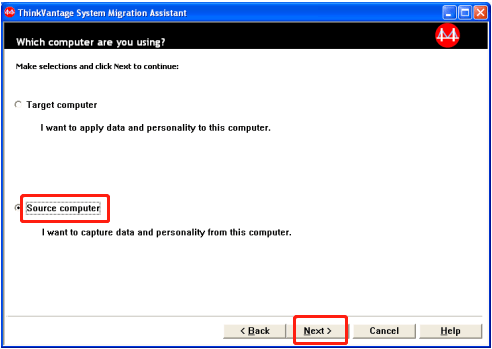
Step 2. Click Next to open Which computer are you using? window.
Step 3. Select Source computer and then click Next.
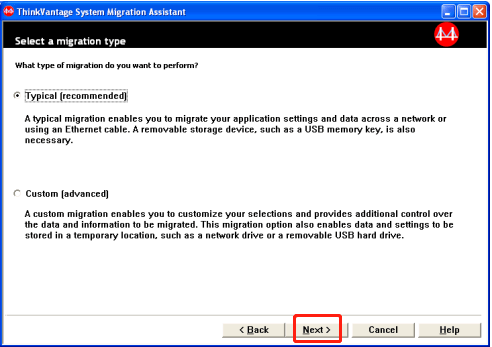
Step 4. Select the migration type (Typical or Custom). Then click Next.
Step 5. Log on to the target computer. Go Start ﹥ Programs ﹥ ThinkVantage ﹥ System Migration Assistant.
Step 6. Click Next to open Which computer are you using? window.
Step 7. Select Target computer and Yes. Then click Next.

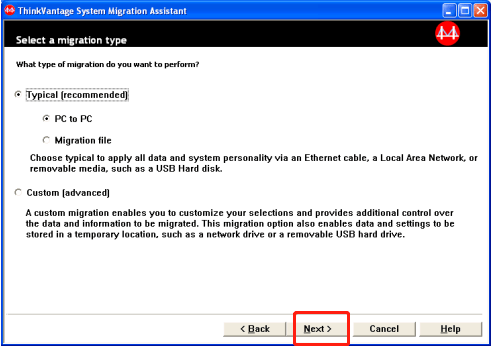
Step 8. Select Typical and PC to PC. Then click Next.
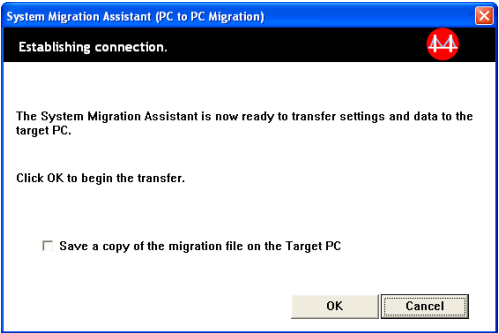
Step 9. Then Establish connection dialog opens. Type a keyword (No more than 40 characters. Do not include the path or any special characters.) in the Keyword field to start the PC to PC connection. Then click OK.
Step 10. Click Next on the source computer to install SMA. Then enter keyword dialog opens.

Step 11. Type the same keyword that you entered on the target computer. Then click OK.
Step 12. Click OK when the connection is established.
Step 13. Select the settings and files that you want to migrate. The Establishing connection dialog opens after selecting data. Then click OK.
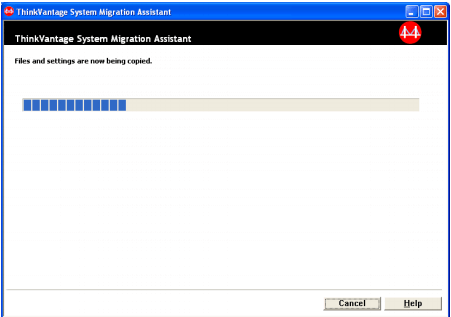
Step 14. Click OK on the target computer. Then Copy Progress window opens.
Step 15. After the migration file is applied. The Migration Successful window opens on both the source computer and the target computer. Then click Finish on both computers.
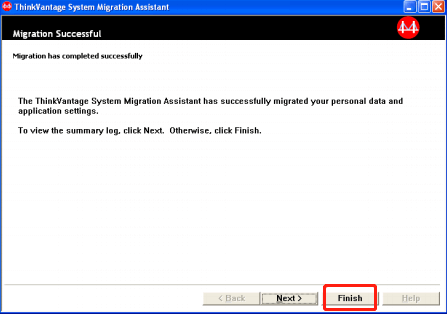
Tip: You can click Next in Step 15 to view the summary or report file.
Now, you have learned how to use Lenovo System Migration Assistant in Windows 7. But it is true that the operation process is too complicated and there are times where Lenovo Migration Assistant being stuck. You must be careful when using SMA as serious problems might occur if you make a mistake in the process. And some users complain that it is always stuck at 79% with error E0210.
How to migrate user files and settings to another computer with alternative software
Although Lenovo System Migration Assistant is disconnected, you can still use Lenovo Migration Assistant or reliable backup and restore software - AOMEI Backupper Professional. Well then, which one should you use?
>> If you get a new computer with OS installed, you can directly migrate everything from old PC to new one with Lenovo Migration Assistant. You can use network or USB to transfer data and both of them apply to All IdeaCentre, IdeaPad, ThinkCentre, ThinkPad, and ThinkStation in Windows 7/10/11.
>> If your new computer does not have OS or you want to keep everything on the old PC, you can choose to directly clone system partition to new hard drive and install it on the new computer. If you use previous systems, such as Windows XP/Vista/7/8/8.1, try the backup and restore method. Since the previous systems were less compatible and you cannot boot computer with different hardware.
Then, select one of them and migrate user files, settings, or OS based on your needs.
Move user files and settings from old PC to new PC with Lenovo Migration Assistant
Before starting to move user files and settings, you need to download and launch Lenovo Migration Assistant on both PCs. And be sure both of them are on the same network or you have a USB drive for data transfer.
Step 1. In the Lenovo Migration Assistant window, select Wi-Fi and click Next if your computers are on the same network. Otherwise, select USB and choose to create a backup on the source computer and then restore at the target computer.
Step 2. Select Old Computer to migrate data from and click Next. Meanwhile, select New Computer on another computer.
Step 3. Then, the old computer will show you a PIN code, remember and then input it on the target PC for connecting.
Step 4. After connecting, select items you want to migrate on the old computer and click Migrate. And the transferred files will be saved in the same storage path on the new PC.
Migrate OS to another computer directly with AOMEI Backupper
Before you migrate OS to another computer, you need to download AOMEI Backupper Professional and connect an external hard drive for migration. For server users, try AOMEI Backupper Server.
(PS: The Clone feature in the trial version can only be demonstrated, to migrate OS to another computer successfully, please upgrade pro trail. And you can enjoy 10% discount for one computer.)
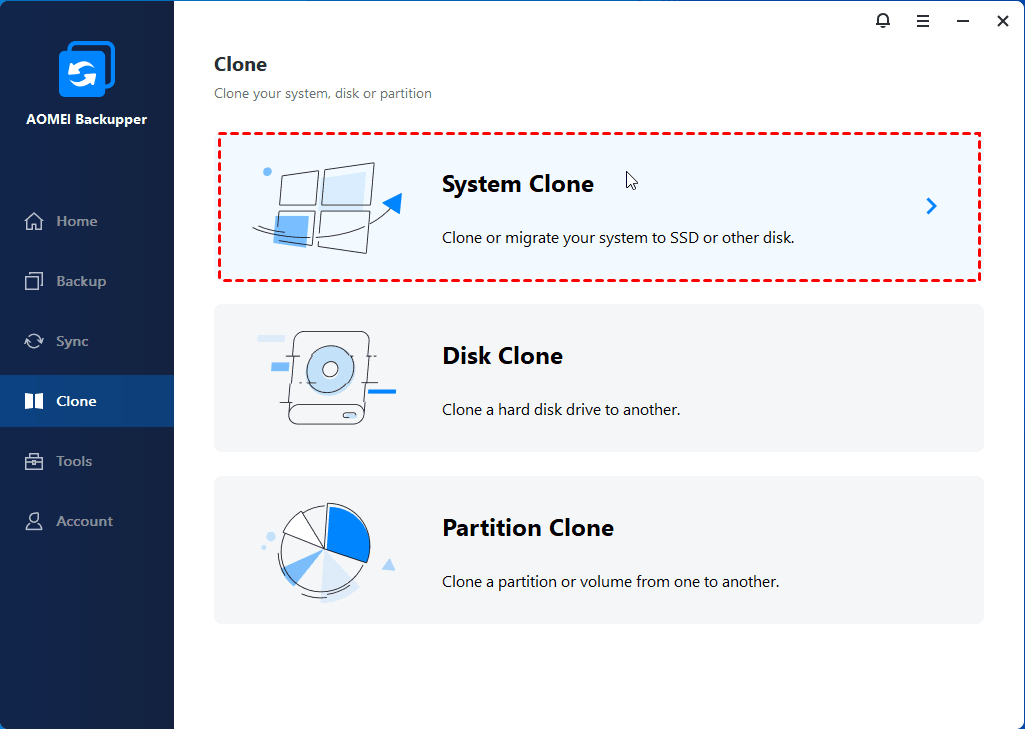
Open this cloning utility. Click Clone and System Clone subsequently. It will select related system partitions by default, you just need to select the prepared drive as the destination and click Start Clone to migrate OS to external hard drive.
By default, this software clones only used sectors on system, so you can easily migrate OS to smaller SSD without boot issues.
Also, you can choose to clone all sectors of system partition with Sector by sector clone if your target disk is big enough to hold everything on the original drive.
Remember to tick SSD Alignment if your external disk is an SSD, because it is able to improve the performance of SSD.
Afterward, you can install this drive on the new computer, and boot from it. If it does not boot, you need to change the boot order in BIOS settings.

Besides, you need to use backup and restore feature if your computer is Windows XP/Vista/7/8/8.1, otherwise, you cannot boot the new computer due to driver compatibility issue. Then, how to operate this process? Below is an overview.
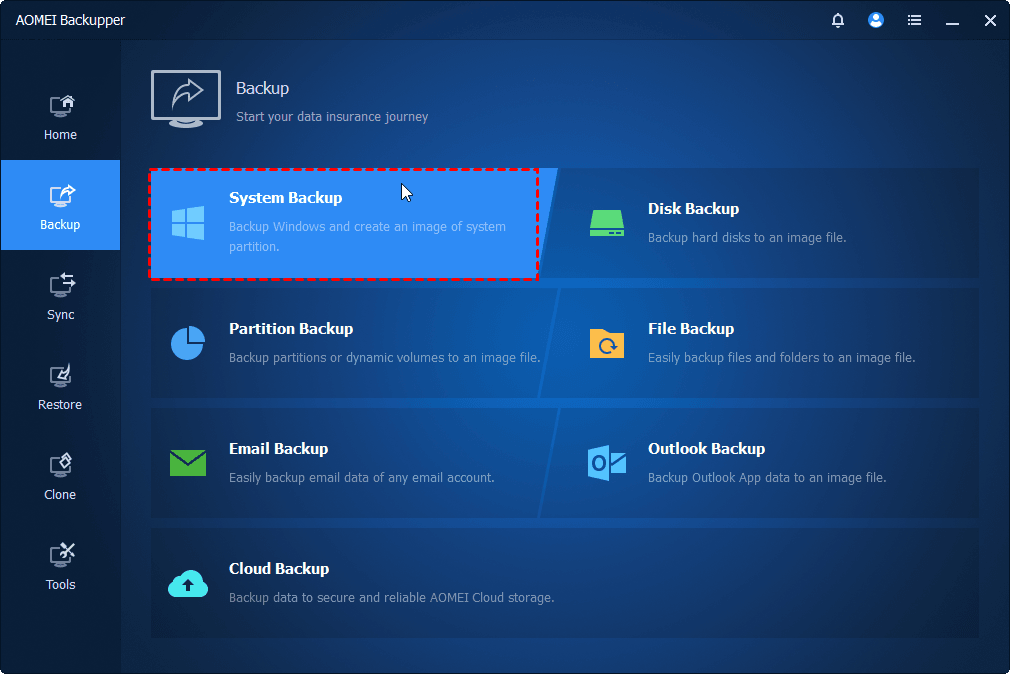
1. Go to Backup, select System Backup and backup destination, then click Start Backup to create a system image backup. You need to prepare an external hard drive to store backup image temporarily.
2. Switch to Tools, select Create Bootable Media > bootable disc type - Windows PE > storage device - USB or CD/DVD, then click Next to create bootable USB or CD/DVD.

3. Insert the drive with backup image and bootable media to your computer. Then, set bootable media as the first boot option and boot from it.
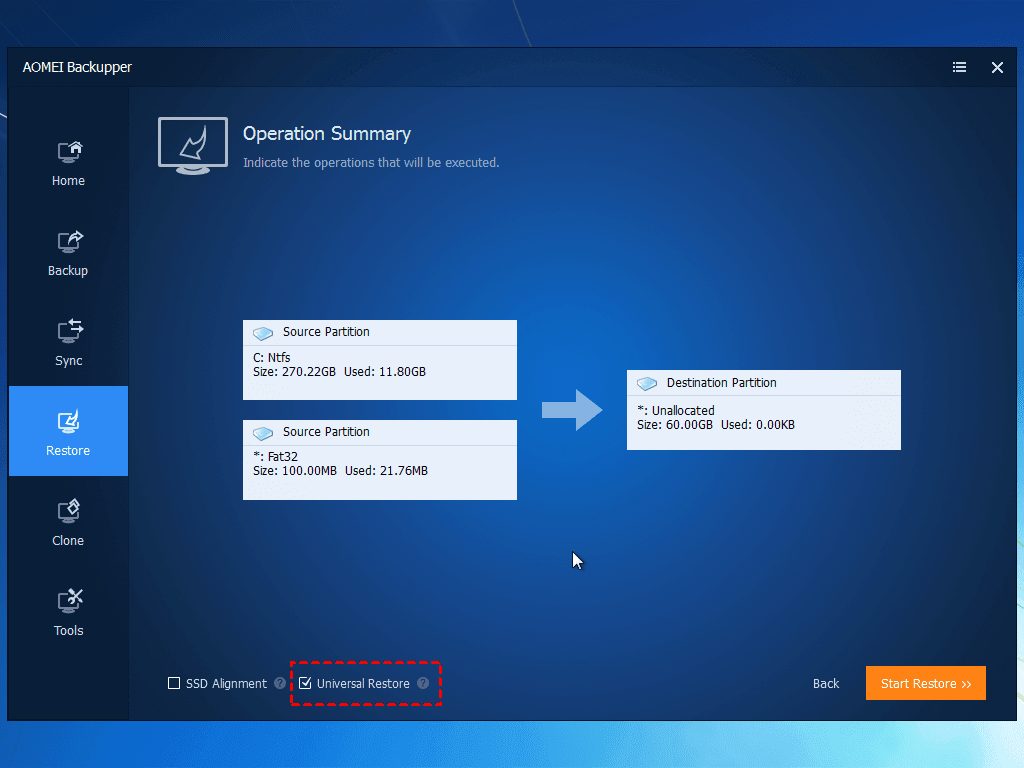
4. Navigate to Restore tab, choose Select Image File to manually find backup image > tick Restore this system image > select destination drive or partition to receive backup image and click Start Restore. By default, this software will tick Universal Restore feature if the image is created on a computer with different hardware.
Final words
Although Lenovo System Migration Assistant has been disconnected, you still can use alternative Lenovo migration software like AOMEI Backupper to migrate user files and settings from old PC to new PC. This may be divided into two situations, your new computer has OS or not.
For the previous situation, try Lenovo Migration Assitant. If it does not have OS, you can choose to migrate OS, system files, settings, installed programs, user data, etc to new computer directly. You can use System Clone or System Backup and Restore. If you are worried about boot failure, the latter is the best choice.
Besides, it still allows you to deploy or restore system images to multiple computers if you use its technician or TechPlus edition. Both of them support image deploy tool, so you don't need to configure computer one by one. For differences between them, check the edition comparison page.