How to Reimage a Lenovo Laptop (ThinkPad, IdeaPad)
Find your Lenovo laptop in bad condition and want to reimage it? This article will give you a clear guide.
by Lily Updated on October 13, 2023
When to reimage a Lenovo laptop?
Reimaging is the process of removing all the data on a computer and reinstalling everything. If you are in following circumstances, you may need to reimage your Lenovo laptop:
-
Windows system works slow and it can’t be speeded up by uninstalling programs.
-
System files are corrupted or missing. Trying to repair system files but it does not work.
-
There’s an irreparable virus or stubborn malware.
Reimaging will help you out in all these conditions. Then, what should you take care of before reimaging a Lenovo laptop and how to reimage it exactly?

How to reimage a Lenovo laptop in Windows 10
As mentioned in the first part, reimaging will erase all your data. Therefore, it is necessary for you to perform file backup for your crucial data before you do factory reset on your Lenovo laptop. Learn how to reset Lenovo laptop in Windows 10 below:
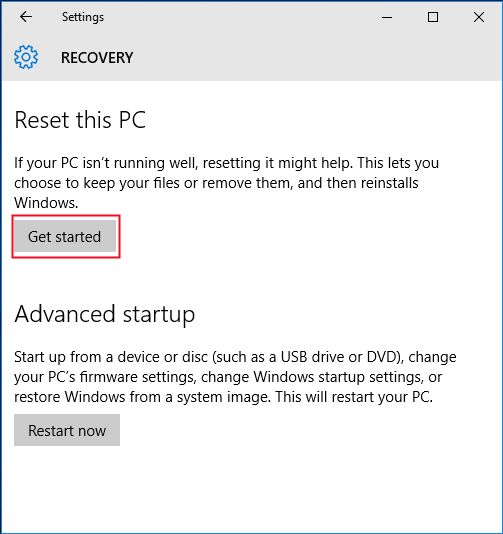
1. Click Start and select Settings > Update & Security > Recovery. Click Get started below the “Reset this PC” heading.
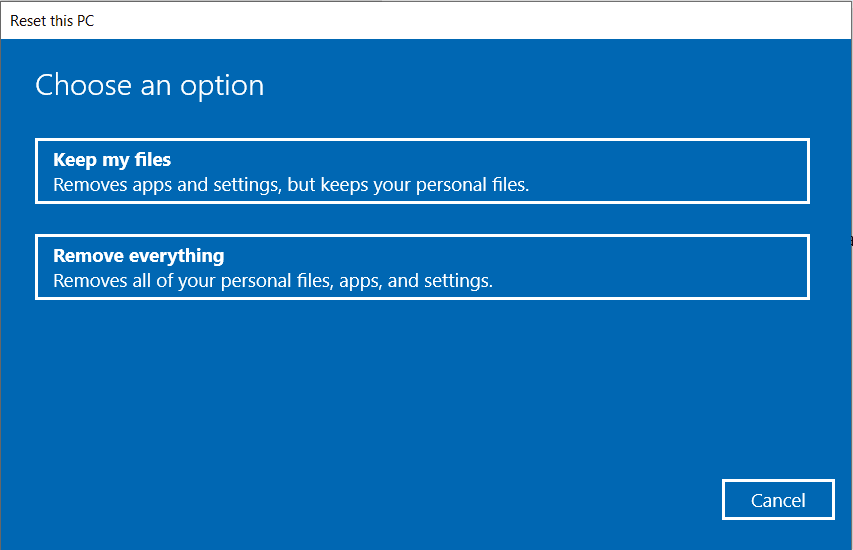
2. Click Remove everything.
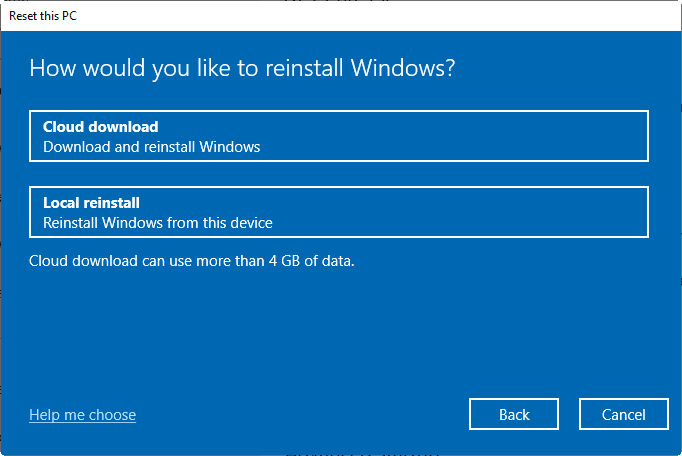
3. Choose a way to reinstall Windows 10 after resetting. Here I choose Local reinstall.
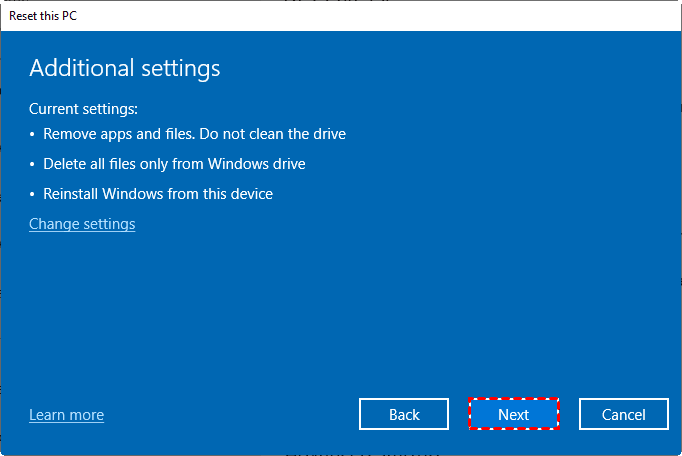
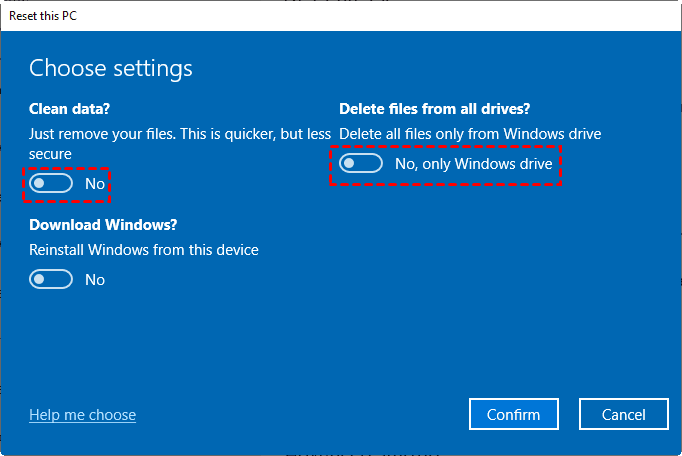
4. Decide whether to do additional settings.
-
Click Next if you want to keep the default setting. The default setting is only removing files from the drive where Windows is installed. It will not clean the drive nor will it remove files from other drives if your PC has more than one drive.
-
Click Change settings and you can choose to clean the drive and remove all files from all drives by turning on the corresponding switch. Click Confirm to save your settings and then click Next.
5. Click Reset when prompted. Your computer will begin resetting itself.
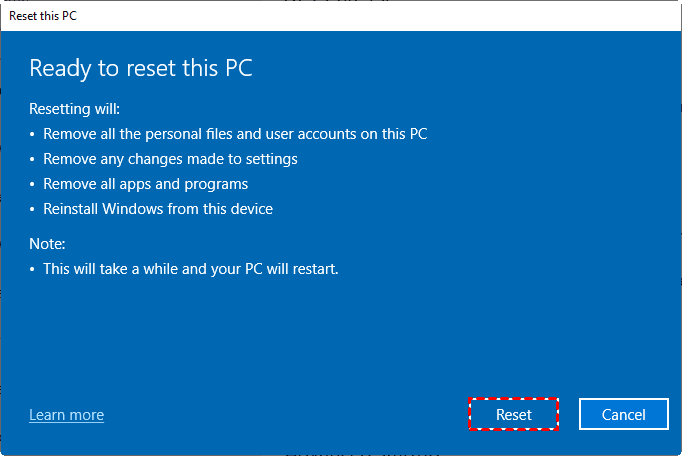
6. Wait for Windows to finish resetting. The reset process can take several hours to complete, so just make sure that the computer has enough power.
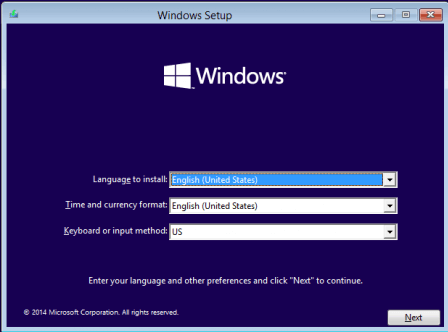
7. Click Continue when prompted. You’ll see it at the top of the “Choose an option” page. Clicking it will take you to the setup page.
8. Follow the on-screen prompts to complete the Windows 10 reinstallation.
Now you know how to factory reset Lenovo laptop in Windows 10. If your Lenovo laptop fails to boot because of serious problems, you may need Windows installation media or Windows 10 recovery drive to accomplish system recovery. If you want to figure out how to factory reset Lenovo laptop in Windows 7, please refer to System Recovery Options Command Prompt.
Repair Lenovo laptop without reinstalling Windows
Although reimaging can bring you back a working, speedy Lenovo laptop, the disadvantages of it are obvious. You have to reinstall everything after reimaging Lenovo laptop and the whole process is really time-consuming. To save you from heavy work, you can backup your Lenovo laptop regularly and restore system when it is not running well. You won’t need to reinstall Windows and all the applications installed on the system partition in this way.
AOMEI Backupper Standard, the best free backup software, can help you with Lenovo laptop backup & recovery.
✩ It enables you to create image backups for the system, disk, partition or even selective files.
✩ It supports backing up to an external hard drive, mapped network drive, or cloud drive, etc.
✩ You are allowed to do block level incremental or differential backup to improve the backup efficiency.
Just download this wonderful freeware to have a try. Note that AOMEI Backupper can only restore the image files created by itself, so you have to run System Backup before the recovery.
Now follow the instructions below to perform system restore on your Lenovo laptop:
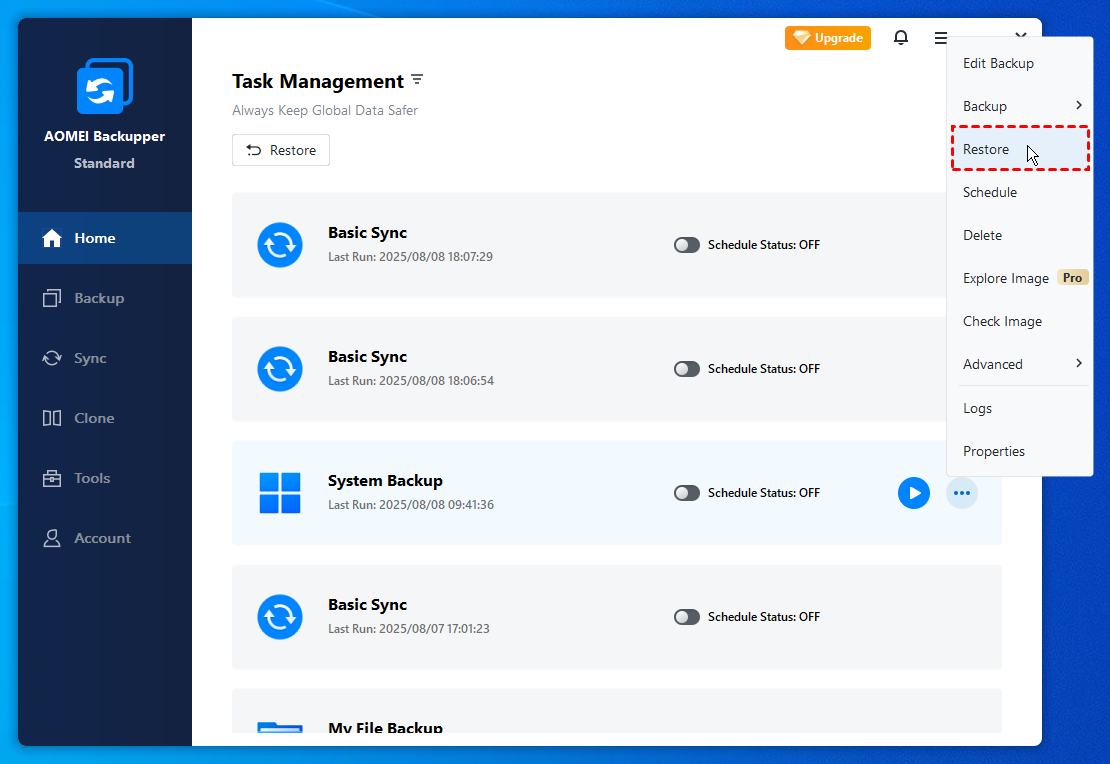
Step 1. Launch AOMEI Backupper. Under the “Home” tab, you’ll see all the tasks you’ve created with AOMEI Backupper. Find the system backup task and click “Restore”.
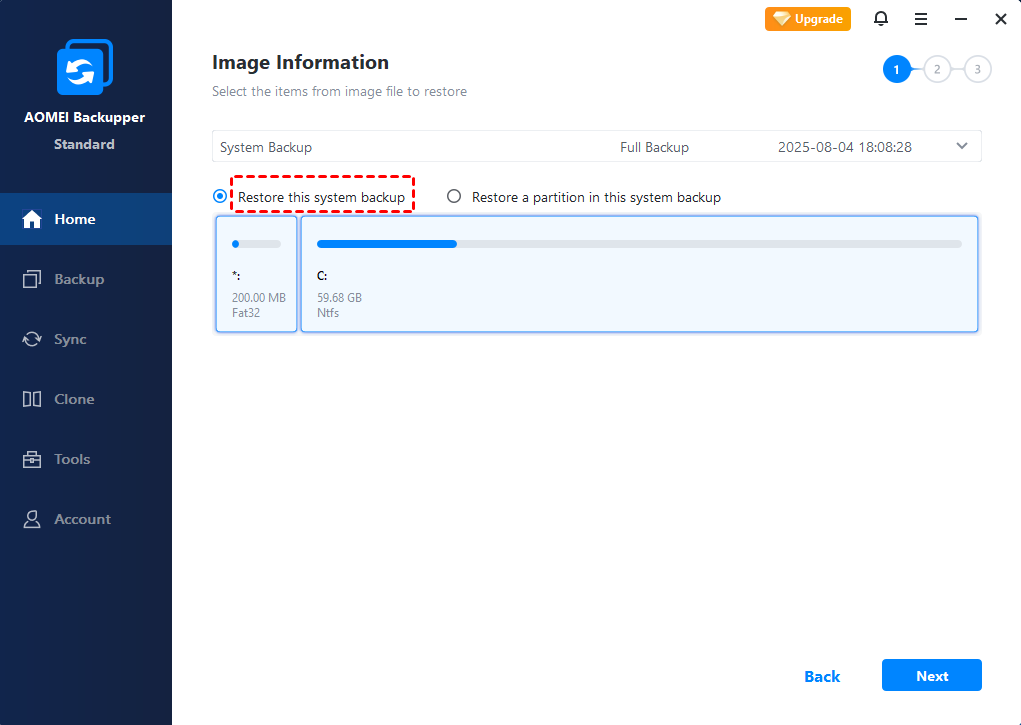
Step 2. Select "Restore this system backup" and click “Next”.
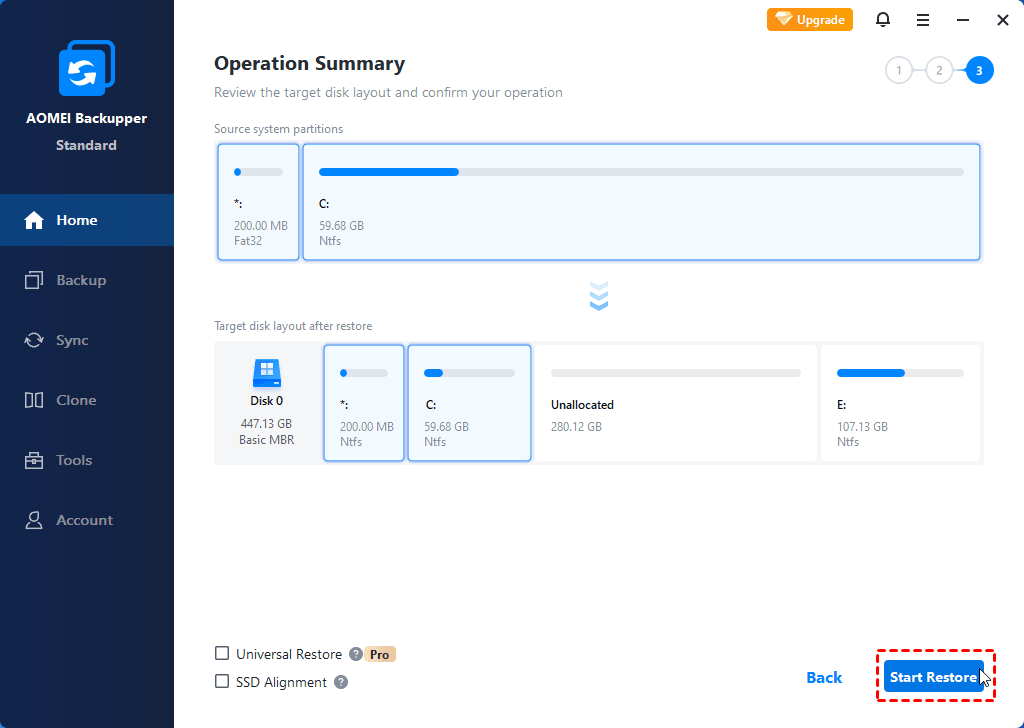
Step 3. Confirm operations on the “Operation Summary” page and click on “Start Restore” button.
Step 4. You will receive a prompt reminding you to restart your computer. Click “Yes” to continue. The operations will be completed under the Restart Mode.
Notes:
-
The program automatically selects the current system partition (usually C drive) as the destination drive. You can change the default destination drive by checking “Restore system to other location” in Step 2.
-
If the Lenovo laptop suffers a boot failure, you can create bootable media with AOMEI Backupper and perform system restore under Windows PE.
-
If you want to restore the system image to different computers, you should tick “Universal Restore” in Step 3 to ensure the system is bootable after recovery. You need to upgrade to AOMEI Backupper Professional to enjoy this feature.
Verdict
You have learned how to reimage Lenovo ThinkPad/IdeaPad laptop in Windows 10. With AOMEI Backupper, you are able to repair Lenovo laptop without Windows reinstallation. In addition, it owns the clone feature which can help you with Dell XPS 8910 SSD upgrade. Go for AOMEI Backupper and enjoy all-around data protection it brings!