Backup Files in Windows 7 to External Hard Drive Easily (3 Ways)
How to backup files in Windows 7? How to backup computer to external hard drive in Windows 7? You will find answers here.
by Ivy Updated on November 9, 2022
Why Backup Files in Windows 7?
In the previous date, the most popular reason is to backup files in Windows 7 to protect user data, but nowdays is Windows 7 end of life on January 14, 2020 and you are no longer get security updates. To protect your system and data safely, Microsoft recommend you using the latest Windows 11.
Before upgrading, it’s emergency to backup files in Windows 7 to avoid data loss during the process or you want to move your important data to Windows 11, like consumer documents, business data, videos, and other critical files.

How to backup files in Windows 7? The following will show you the details, let’s go find out the solutions.
Ways to backup data on your computer
You can easily backup files in Windows 7 to external hard drive or USB drive with free backup software or file transfer tool, and as a matter of fact, Microsoft provides you with 2 helpful tools - Backup and Restore, Windows Easy Transfer.
Well then, which one should you use? To backup system and data simultaneously, you could use Backup and Restore. To transfer files and keep its original structure, try Windows Easy Transfer. However, they have some limitations during the backup process.
- Backup and Restore does not compress backup image and will occupy much disk space. Also, it does backup program files, files stored in the FAT file system, files stored in Recycle Bin, and Temporary files on drives smaller than 1 GB.
- Windows Easy Transfer does not support migration from a 64-bit to a 32-bit system and it is not supported in Windows 10 or 11 by default. And it’s time-consuming if there are a large number of data to transfer.
Is there any feasible way to compensate for shortcomings in the built-in tools?
The answer is Yes, you could use an all-in-one backup software like AOMEI Backupper Standard to backup data on your computer and compress it to an image file. Also, you can transfer files from one location to another with its original struture.
How to Easily Backup Files in Windows 7 to External Hard Drive
In this part, you will learn 3 different methods to backup files in Windows 7. Please follow the steps in each method carefully.
#1: Backup Files in Windows 7 with Backup and Restore
To backup files in Windows 7 with Backup and Restore, please refer to this guide:
1. Open Backup and Restore in Windows 7, you have two ways in the following:
Through search box: Input backup and restore in Start Search box, and select Backup and Restore, and hit enter.
Use control panel: Go to Start > Control Panel > System and Security and click Back up your computer.
2. In the Backup and Restore window, click Set up backup to create a new one if you have never used it before.
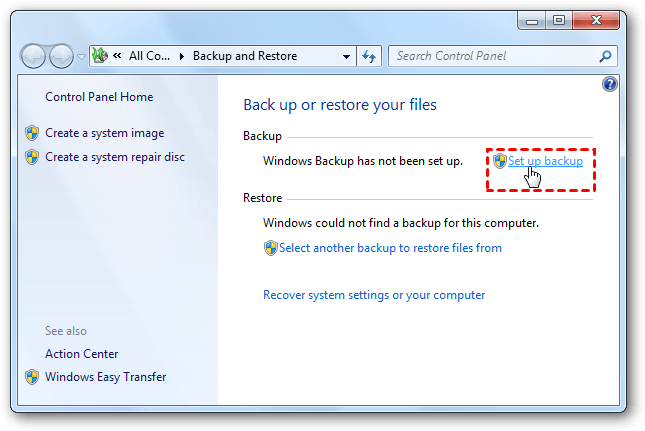
☛Tip: If you created a backup task, you could click Back up now to run it again or click Change settings to create new file backup task.
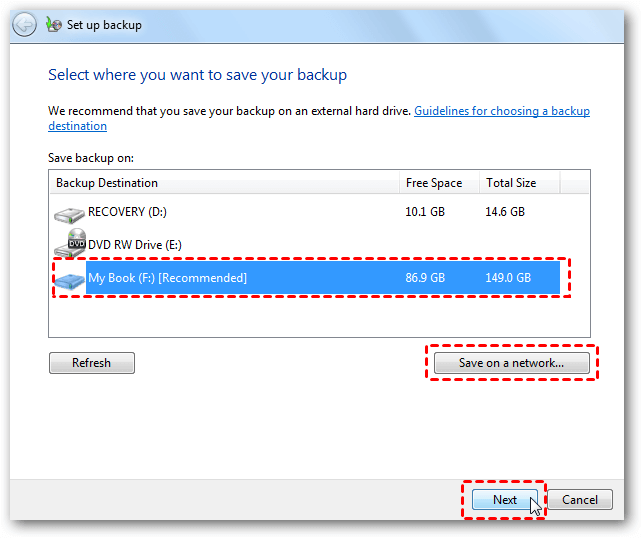
3. Select where you want to save the Windows 7 backup image to, and click Next.
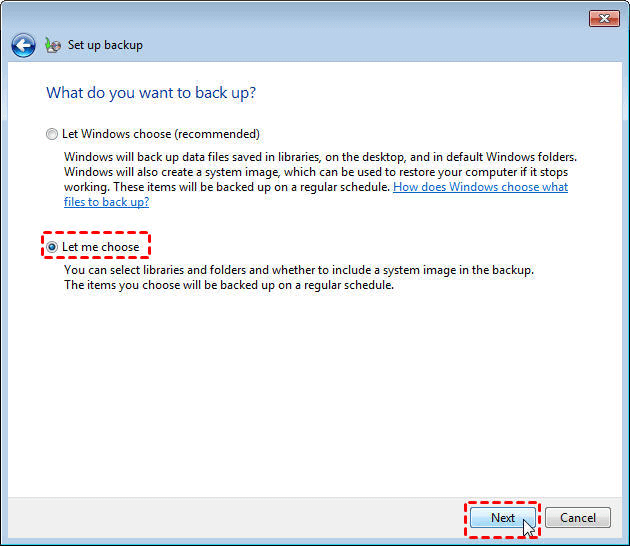
4. Tick Let me choose, and hit Next.
5. Choose the files you want to backup, and then click Next.
6. Review the backup settings, click Change schedule to customize the intervals to backup.
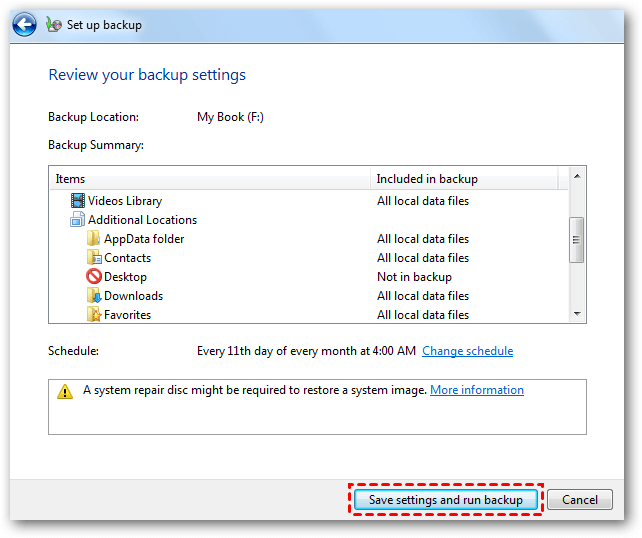
7. Click Save settings and run backup to backup selected files in Windows 7.
#2: Backup Files in Windows 7 with Windows Easy Transfer
Here is how to backup files to external hard drive in Windows 7 with Windows Easy Transfer, follow the tutorials:
1. Input migwiz into Start Search box, and hit enter on migwiz program.
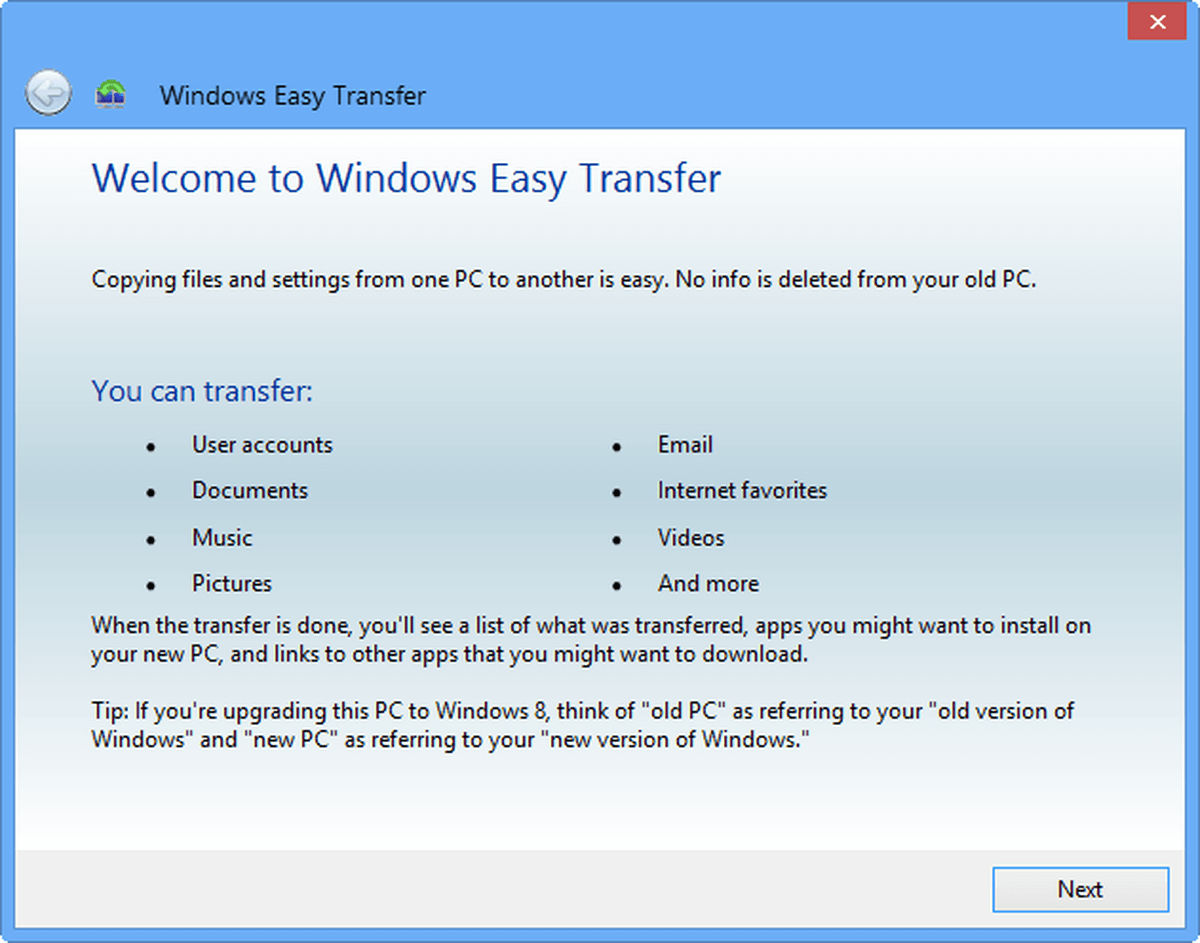
2. Click Next on the welcome window.
3. Select An external hard disk or USB flash drive option.
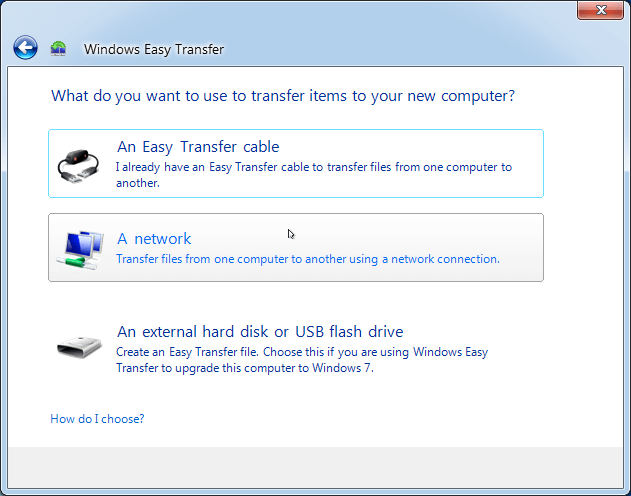
☛Tip: you could transfer files via an Easy Transfer cable or using a network location.
4. Select This is my old computer.

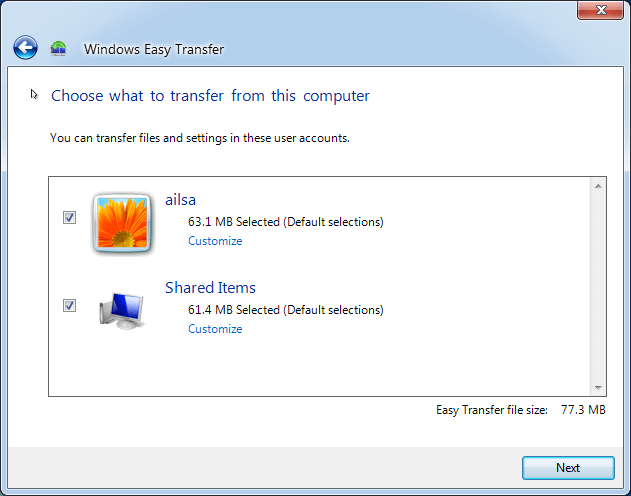
5. Then, Windows Easy Transfer will check all the files supported in Windows 7, choose the files you would like to backup, and click Next.
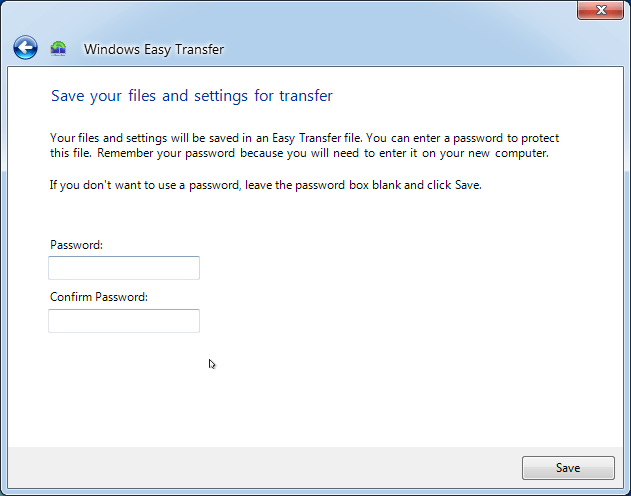
6. Set a password to the Windows 7 backup image, and click Save.
7. Choose the external hard disk and click Save to backup files to external hard drives.
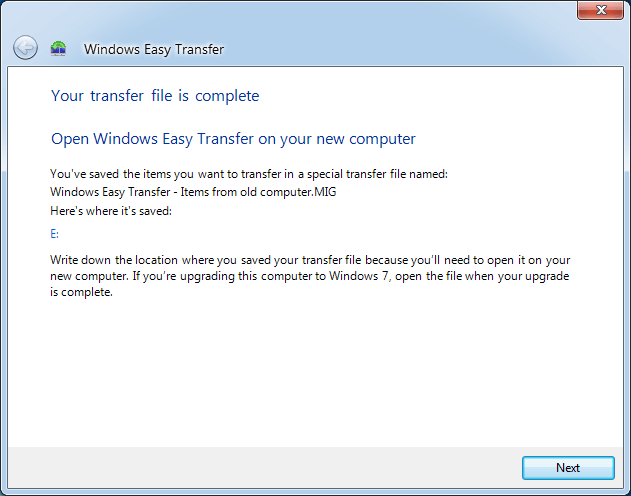
☛Tip: the Windows 7 backup image named Windows Easy Transfer - Items from old computer.MIG.
8. Hit Next, and you will be prompted with where is the Windows 7 backup image stored.
9. Then go to the new Windows computer, and run Windows Easy Transfer to transfer these files to the new computer according to step 1-4 (change to This is my new computer in step 4, then follow on-screen instructions to restore).
#3: Backup Files in Windows 7 with all-in-one backup software
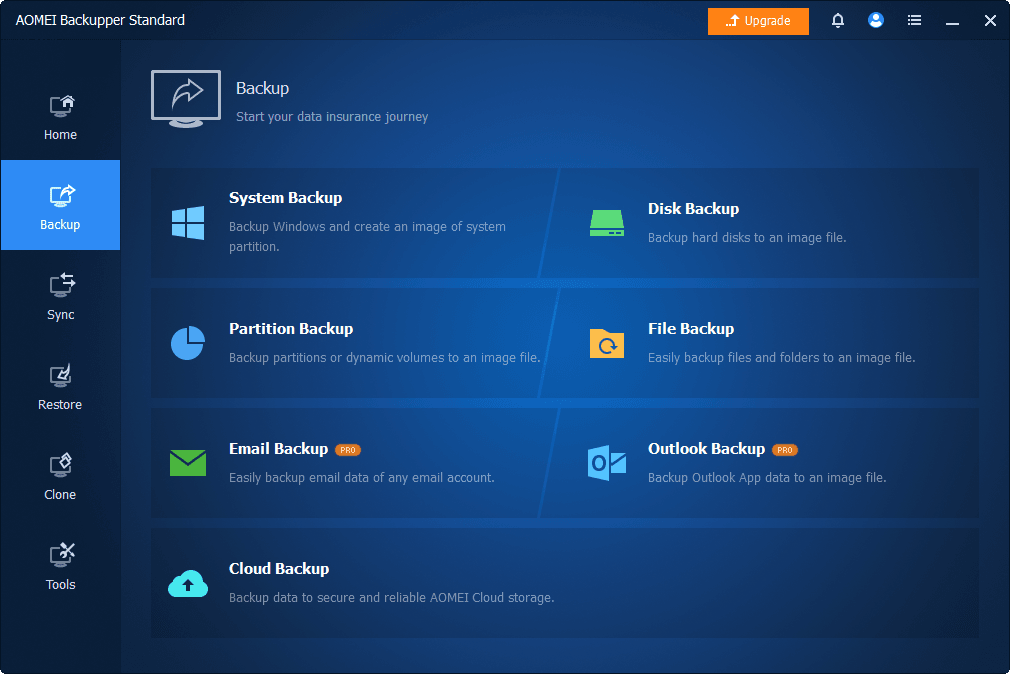
AOMEI Backupper Standard, as the best free Windows 7 backup software, is more comprehensive and easier to use. With it, you can easily backup files to external hard drive or USB drive, no matter it's stored in NTFS or FATpartition. And this software provides you with 2 helpful ways to meet different users' needs - using File Backup and File Sync feature.
File Sync: It is to transfer files from one location to another with its original structure. Also, you can schedule them in daily, weekly, monthly settings. The most advantage of it you can access and modify your files at any time without restoring files from backup.
Considering data security and malicious modification issues, here we will take File Backup as an example to show you the detailed steps. First of all, please download AOMEI Backupper Standard to backup files in Windows 7 to external hard drive. For server users, try AOMEI Backupper Server.
1. Run AOMEI Backupper after installation, select Backup -> File Backup in turn.

☛Tip: If you create an AOMEI account, you can use the Cloud Backup feature to backup Windows 7 files to AOMEI Cloud.
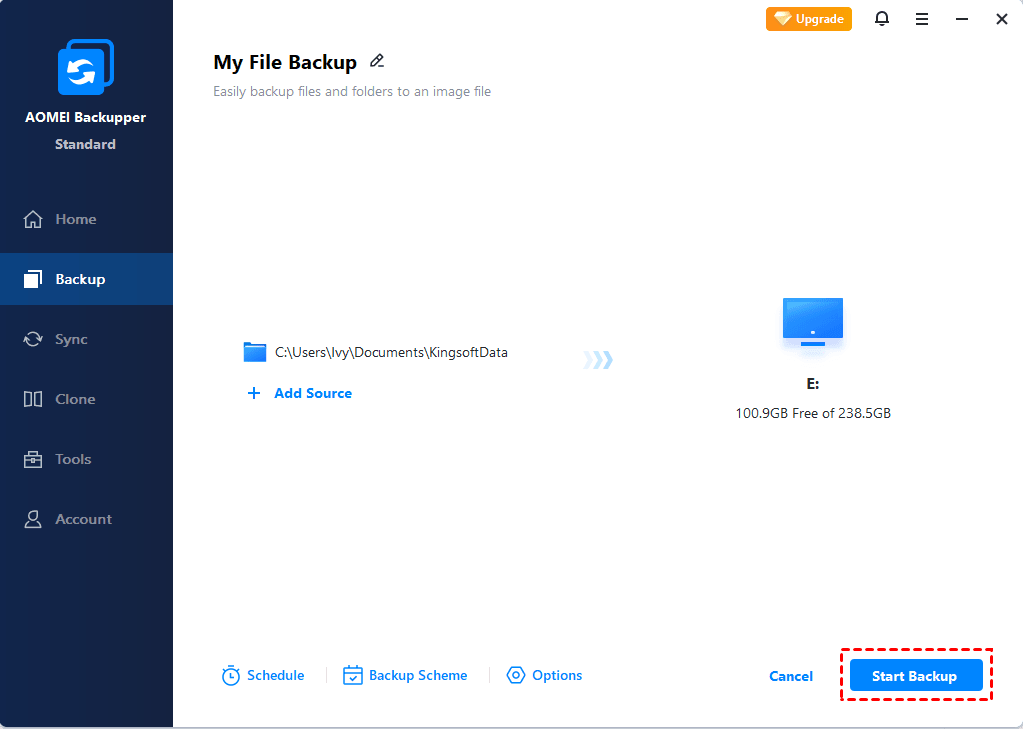
2. Tap + Add Folder or + Add File to choose the Windows 7 files you would like to backup.

☛Tip: You could rename the Task Name to distinguish from other backups.
3. Click the folder icon to choose the external hard disk or USB drive as the destination to save the Windows 7 backup image.

☛Tip: you could click the Inverted triangle icon to choose Select a network location or Select a cloud drive to opt for a NAS, Google Drive or other clouds as a target location.
4. Press Start Backup >> button to perform Windows 7 file backup easily.
This operation only backup files are currently in Windows 7, not including changes made later. To keep all changes made later, you need to set Schedule Backup and image SSD automatically. You can choose among Daily, Weekly, Monthly, Event trigger, and USB Plug in. The last two premium features are available on the professional version.

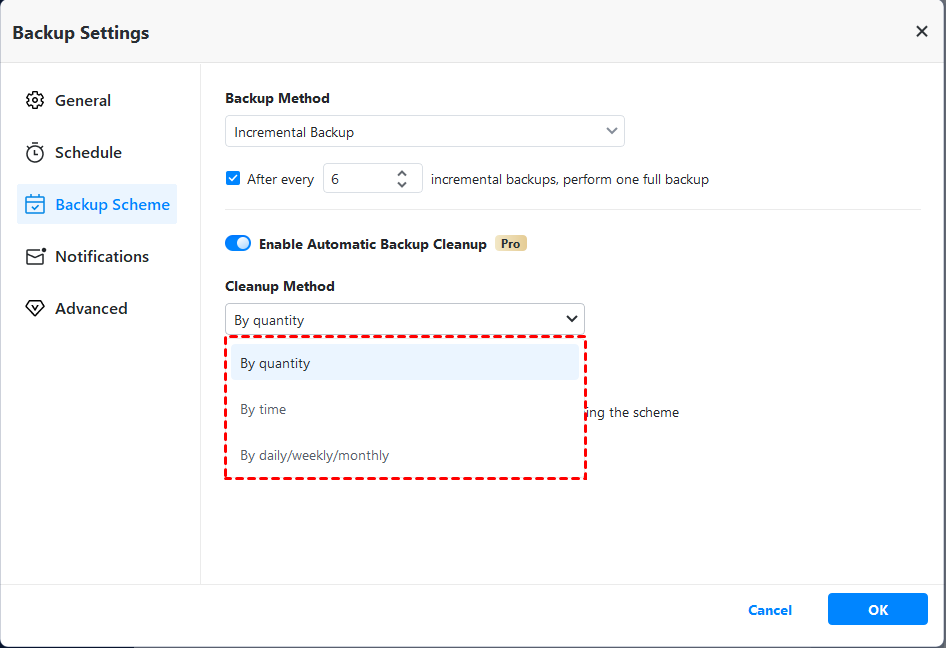
By default this software will create one full backup and 6 incremental backup if you set a scheduled backup task. This may result in backup disk full issue in the long run, thus it's suggested to enable Backup Scheme and delete backup file automatically. You have 3 options, By quantity, By time, By daily/weekly/monthly. You need to upgrade now (5% off for one computer) before using it.
And the incremental backup has a high requirement for recovery while differential backup is much easier. For differences between them, learn my previous article: Incremental or Differential Backup.
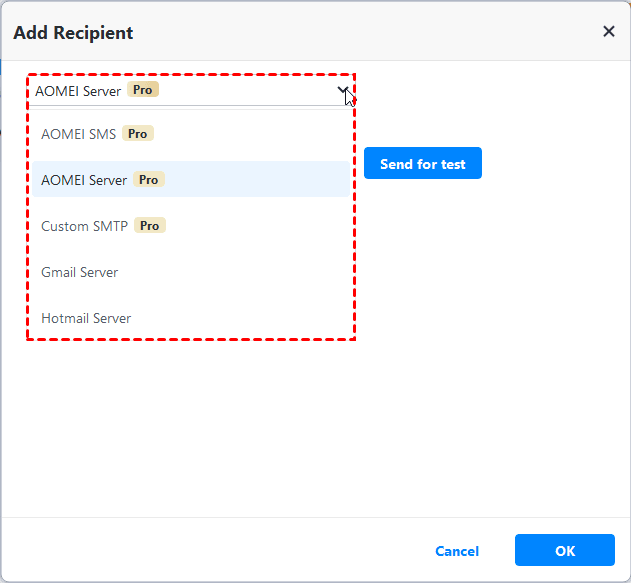
Besides, you still can enable email notification after the task finished. Comment, split, compress the backup image, or select a backup mode, etc.
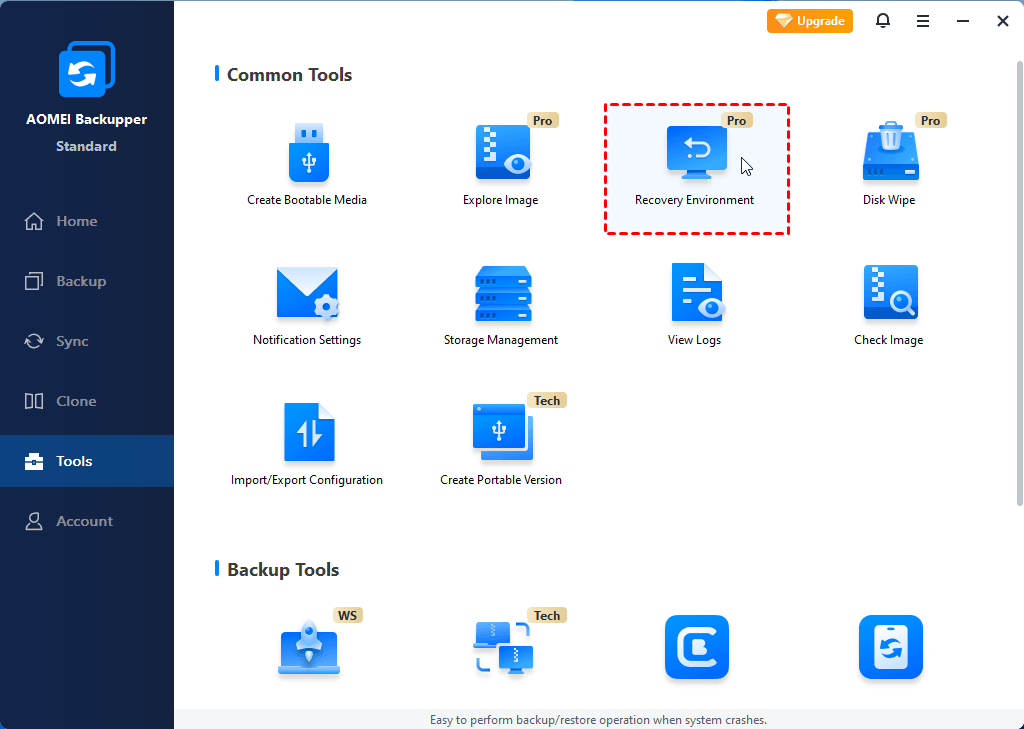
Sometimes, you may meet the unbootable issues when the Windows computer fails to boot, and intend to backup files in Safe Mode or recovery environment. You can choose to create a bootable USB or directly add boot menu to Windows 7 with Recovery Environment feature in this software.
How to Backup Computer to External Hard Drive in Windows 7
Except for backing up files in Windows 7, some users still want to backup computer to external hard drive in Windows 7, you can choose to backup system partition or disk. The latter one backup operating system, program files, settings, registry, personal documents and all other information on that disk. You have two ways in this situation:
#2: Use AOMEI Backupper. In this software, you can use System Backup to create a system image in Windows 7 or directly backup disk with Disk Backup. And you can enjoy schedule backup and reduce disk space as you are in File Backup.
Since Backup and Restore has such limitations, we will not introduce it in the following. For detailed steps, please refer to Windows 7 Backup and Restore. To backup disk directly, launch AOMEI Backupper and follow steps below carefully.
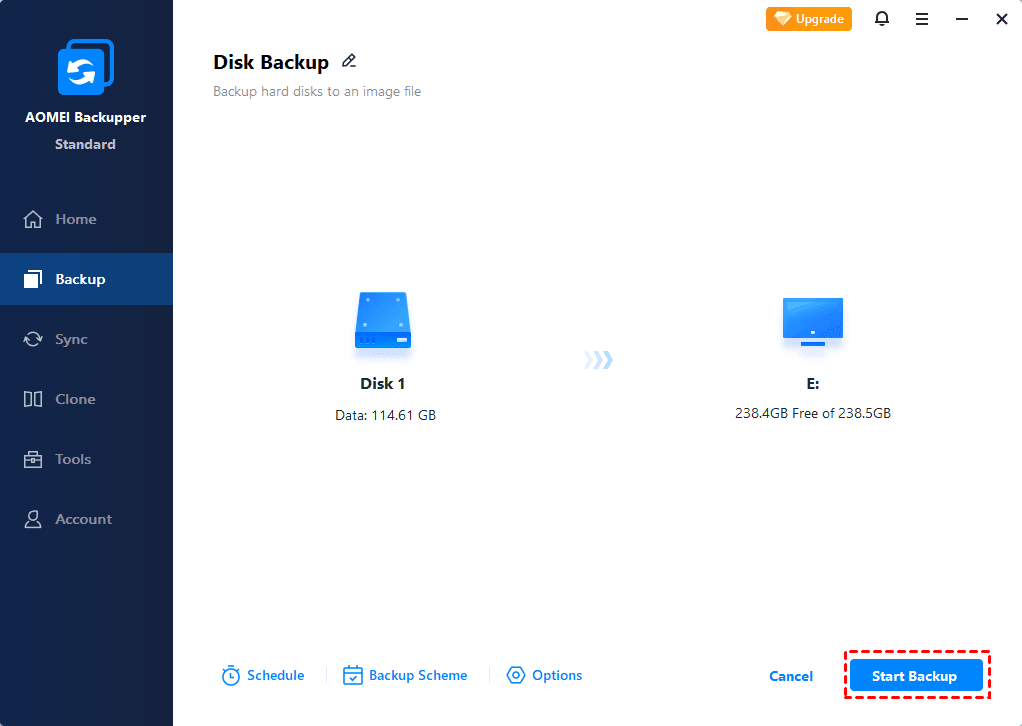
Step 1. Choose Backup > Disk Backup in order.

Step 2. Click Add Disk to choose the Windows 7 hard drive as the source disk, and click Next.

Step 3. Select the external hard drive as the destination disk, and press Next.
Step 4. Press Start Backup to backup Window 7 to external hard drive easily. And you can set schedule settings as you are in File Backup.
Final Words
You can easily backup files in Windows 7 with built-in tools or comprehensive backup software - AOMEI Backupper. If you want to schedule backup files as you like or minimize backup image size, try AOMEI Backupper. And it still allows you to backup computer to external hard drive flexibly.
Beside Backup, you still can create bootable media to boot your computer if it fails, restore files from backup, clone disk to larger disk for backup, etc. For unlimited PCs or servers, try AOMEI Backupper Technician or TechPlus edition. For differences, refer to the edition comparison page.