How to Transfer Photos from iPhone to SD Card
It is necessary to transfer photos from iPhone to an SD card or other external storage device for backup or saving pictures on other phone or device. Follow this post, it will demonstrate you how to transfer photos from iPhone to SD card with or without PC.
By Dylan / Updated on June 5, 2023
Scenario
How to transfer photos from iPhone to SD card
Hi, I’d like to export some pictures out of my iPhone 7 to my Sandisk SD card, because I need to demonstrate these pictures on different PC during my business trip next week. Is there a way to do so? Thanks."
- Question from Forums.imore.com
In some particular circumstances, you will need to transfer iPhone files from iPhone to USB, SD card, micro SD card, memory card or disk. For example, some people who often work overseas need to carry some important pictures or files. And it is not easy-to-use these data immediately when people work. Then it is a wise idea that import photos from iPhone to an SD card beforehand, and insert the SD card into the device which will demonstrate pics on.
On the other hand, backing up necessary data is another purpose of storing pictures on an SD card. Nowadays, lots of people are suffering from data loss. It is always vital to save your necessary data in other safe places.
Next, we’d like to demonstrate how to transfer photos from iPhone to SD card with or without a computer. Choose a proper method according to your situation.
Content:
-
How to transfer photos from iPhone to SD card with Windows computer
-
How to transfer photos from iPhone to SD card with lightning adapter
How to transfer photos from iPhone to SD card with Windows computer
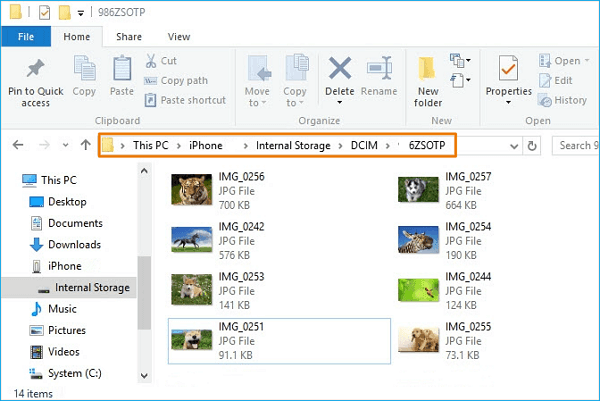
If you just want to transfer several pictures, you can use Windows Files Explorer to perform it. Just connect SD card and iPhone with your computer. Open the computer, and go to “This PC” > “iPhone Name” folder > “Internal Storage” > “DCIM” and open the photos folder. Then just choose photos you want to move. Finally, drag these photos to your SD card.
However, sometimes, you may need to transfer hundreds of or several GB photos to an SD card, simple copy-and-paste operation will take a long time and your computer can get stuck. Besides, If your photos are using HEIC format, you might encounter a problem like the “Cannot view iPhone photos” issue, and you will need to convert the HEIC photos to JPG.
Then in these situations, it would be better to employ a professional iOS transfer tool, like FoneTool. this tool can quickly back up or transfer a large amount of iPhone photos, videos, music, contacts, and messages to an SD card, USB drive, computer disk, as well as restore photos to your iPhone safely. And it also supports converting the HEIC photos to JPG.
This tool is fully compatible with most iPhone versions, including iPhone 6, 7, 8, X, 11, 12, 13, 14 and so on. Now just free download this software on your computer, and follow the steps below to see how it works:
Step 1. Connect SD card with a Windows PC via SD reader. connect your iPhone with a USB cable, and “Trust” the computer.
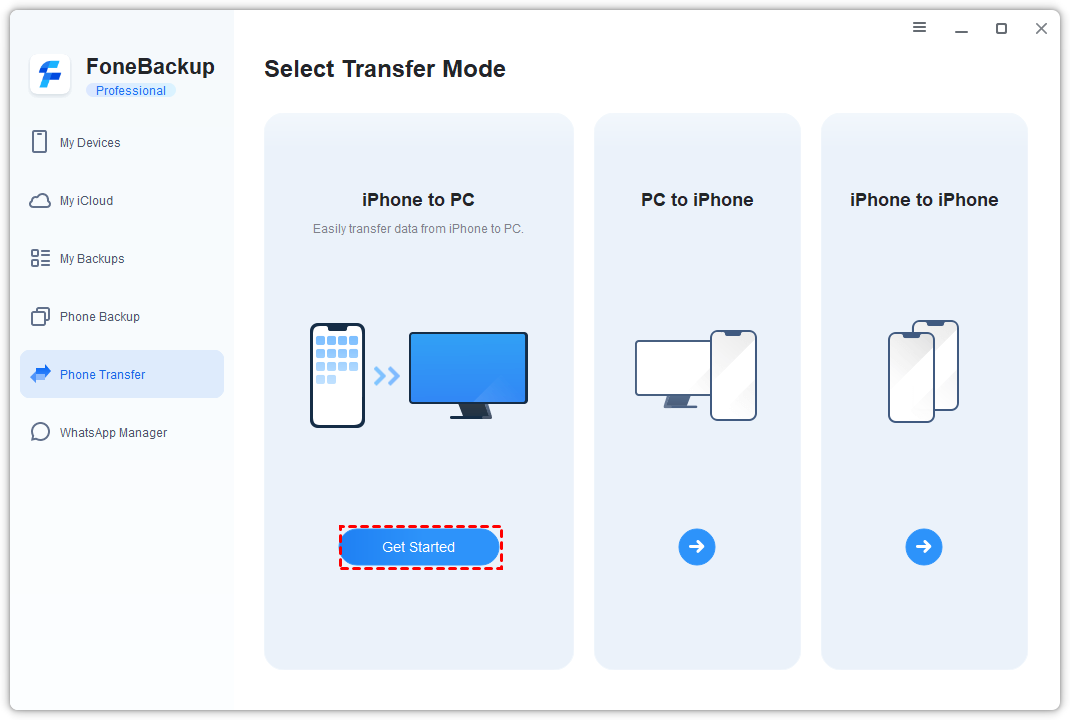
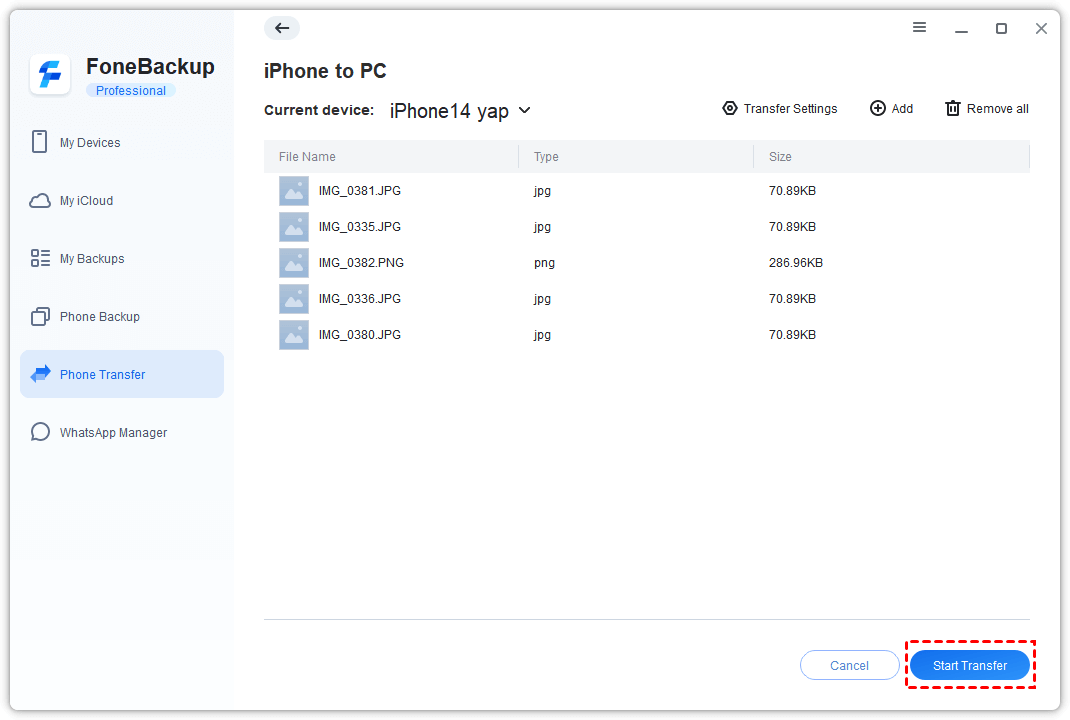
Step 2. Install and launch FoneTool, click “iPhone to PC” on the bottom of the main interface and click Start Transfer.
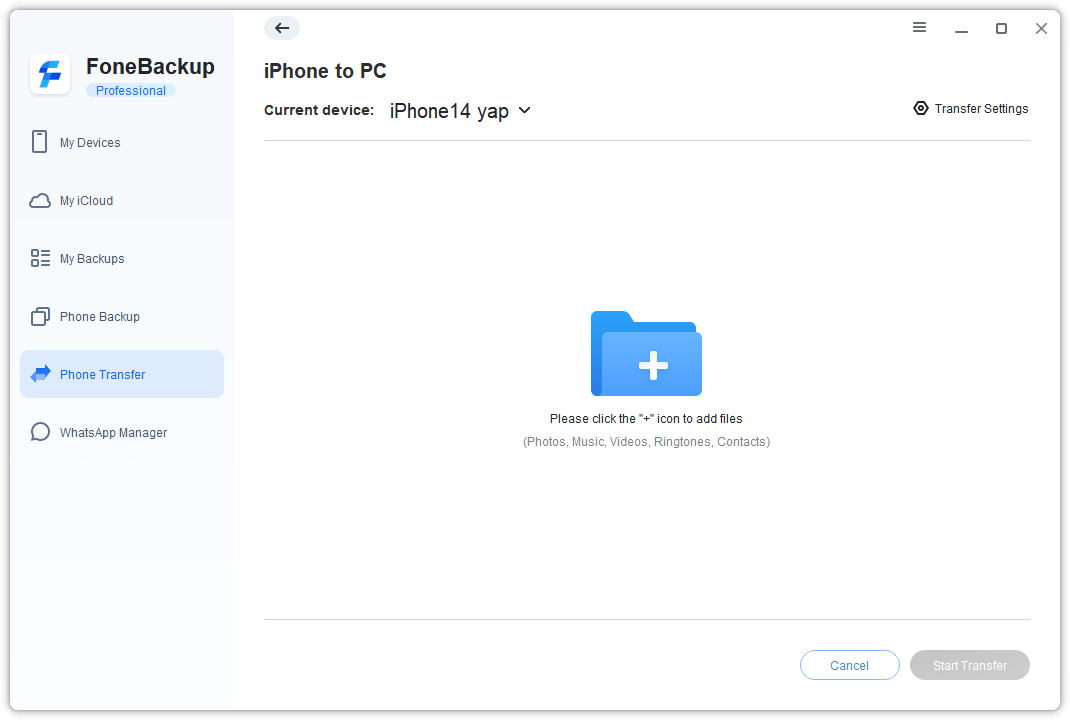
Step 3. Click the "+" icon on the right side of the interface.
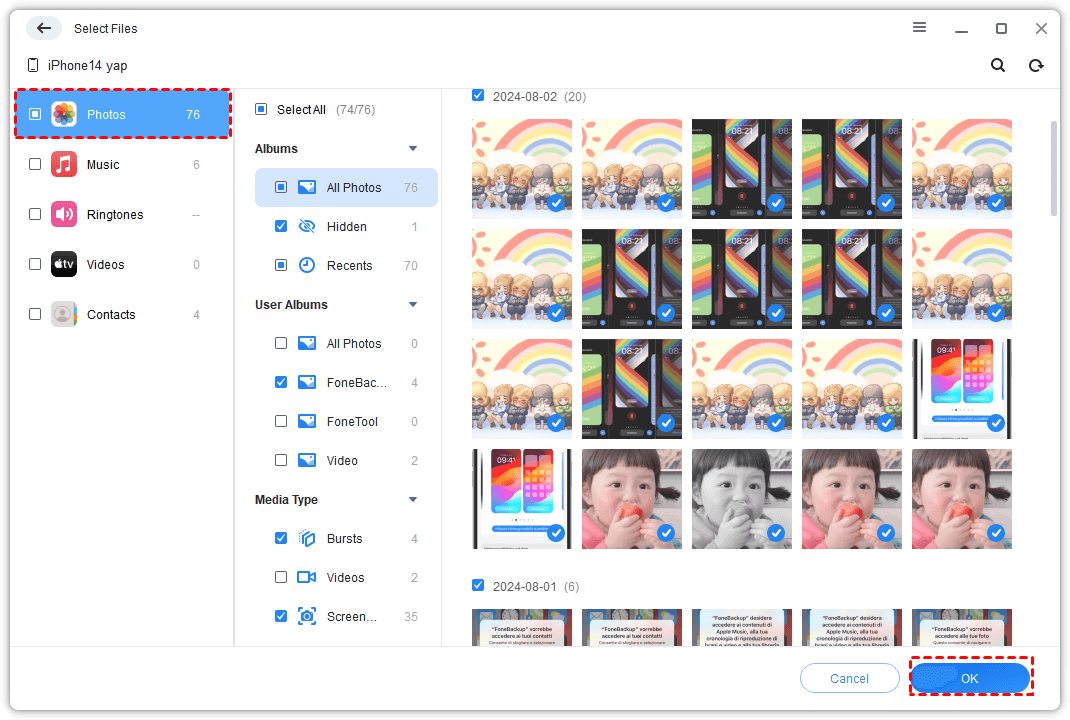
Step 4. Choose “Photos” and you can see your photo album. Then select all photos you want to transfer. And click “OK”.
Step 5. Choose the SD card location from Transfer Settings. And click “Start Transfer”.
Then wait for the transferring process to get finished. After that, open the SD card to see if it succeeds. And remove the SD card and iPhone.
How to transfer photos from iPhone to SD card with lightning adapter
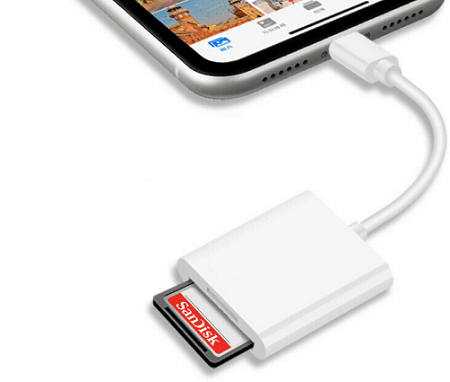
If your want to export photos from iPhone to your SD card without computer, you can use a lighting SD card reader to transfer your iPhone photos. Insert the SD card into an SD card reader and connect it with your iPhone as the screenshot below.
Step 1. Open the iPhone, and go to the “Photos”. Tap “Select” on the top, and choose all photos you want to transfer.
Step 2. Choose the “Share” icon on the button, and choose “Save to Files”.
Step 3. Then, choose the SD card as the location path, and “Save”. Usually, the SD card option comes with a USB icon and is labeled with “NO NAME”.
Conclusion
This is how to transfer photos from iPhone to SD card. You can use either a computer or a lightning SD card reader to complete this operation. Besides, these methods can also help you to export your iPhone photos to a laptop, or USB drive if you need. And the first method is more recommended. Because it not only transfers photos but also can back up iPhone to external drive or other storage devices, especially for some important data.