Windows Backup Did Not Complete Successfully-Explained
What can you do when Windows backup did not complete successfully? This article will break it down to you and provide a solution.
by Delia Updated on October 19, 2022
Problem
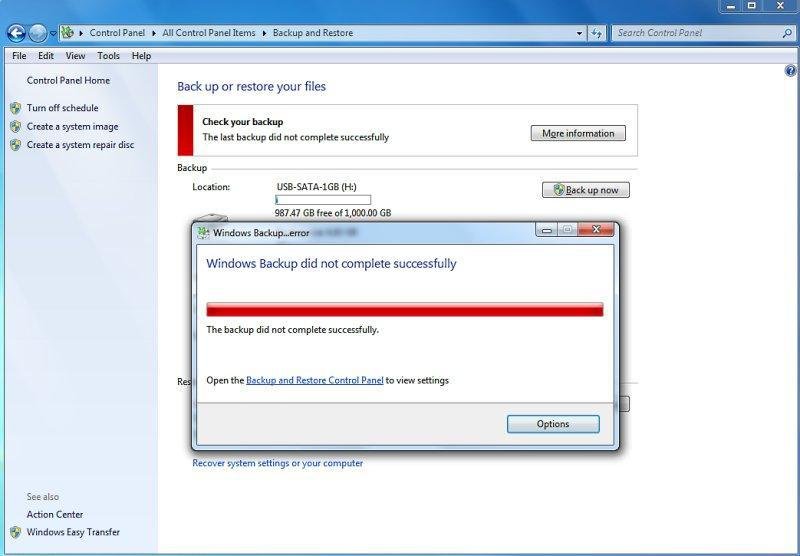
When you use Windows built in backup utility to create a one time backup or schedule backup, the backup might fail with "Windows Backup did not complete successfully". To see more detailed error, you can click the “Option” button or view the Event Log.
Cause
If you are backing up to an external USB hard drive, there might be timeouts while transferring data to USB drive that can cause the last backup could not be complete. This error also occurs when the files that you are trying to backup have a problem unless the Event Log says otherwise. In the Event Log, you may find out that system cannot find the file specified, which is possibly because some files included in the backup has been affected by virus. Another factor that may cause backup failed is because of I/O device error.
solution
To fix this problem windows backup not working, you can choose one or more of the steps below based on the information you find in the Event Log.
1. Check disk and fix command on both the backup source drive and the destination drive. You can run command “chckdsk C: /f”in a command prompt to check your C: drive. You can also right click on the partition and then go to Properties, Tools, Error-checking.
2. Make sure the backup drive is well connected to your computer. You can open Disk Management to confirm confirm that the backup drive’s status is Online.
3. run a full scan of your computer with anti-virus software and delete the untrusted files. You can download the free Microsoft Security Essentials to do this.
4. Delete old backups or volume shadow copies and then try the backup again.
If windows 7 backup fails after all these steps and you have nothing you can think of to try, you can use third party backup software.
Backup with free backup software
AOMEI backupper Standard, a free backup and recovery software for Windows 10/8/7. It allows you to create block level backups and keep many running scheduled backups, and full/incremental/differential backups are also supported. If Windows backup could not complete successfully, it is a good choice to use AOMEI Backupper Standard.
To backup with AOMEI Backupper Standard:
1. Download and run this freeware. Click “backup” in the Home screen for a backup job.
2. Click “Disk Backup” to include an entire hard drive in the backup. You can also choose system backup, partition backup or file backup depneding on your needs.

3. Select the source disk that needs backing up. If you choose “System backup” in the last step, the program will automatically include backup source, which is quite convenient.

4. Specify a location where to store the image backup.

5. For schedule backup, you can click the “Schedule” button to configure. Then click “Start Backup” to start the backup.
Since Windows Backup utility still do a file by file backup, any files have a problem would result in Windows backup did not complete successfully. AOMEI Backupper use block by block technology, so it is faster and more secure. Besides, it also allows you to migrate OS to SSD, synchronize files between two folders to make a copy of your data without imaging. If you need command line backup or dissimilar hardware restore, you can use AOMEI Backupper Professional Edition.